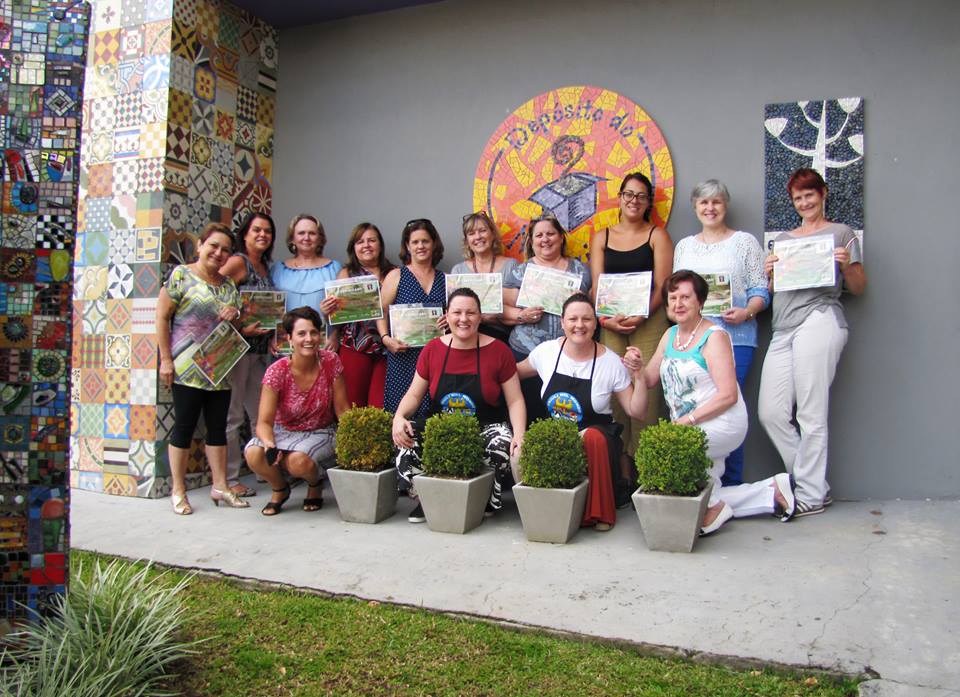
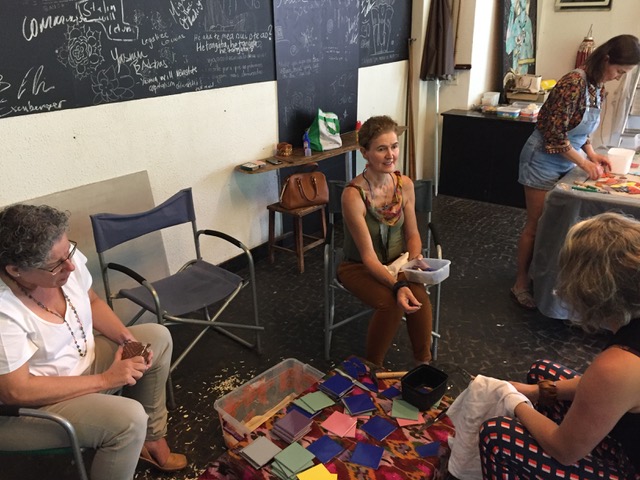
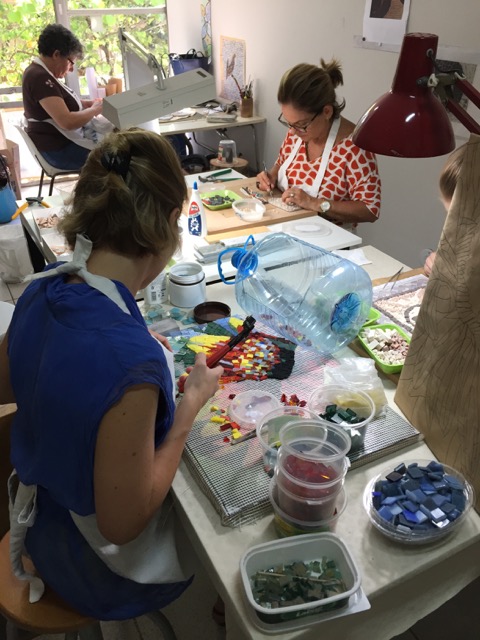
In this spacious atelier of the “Deposito do mosaico” in Curitiba from 26. Feb until 2. March I attended the course on “Theory of colors for mosaic” given by Manas Bonetti twin sisters from Santa Catarina state in the south of Brazil.
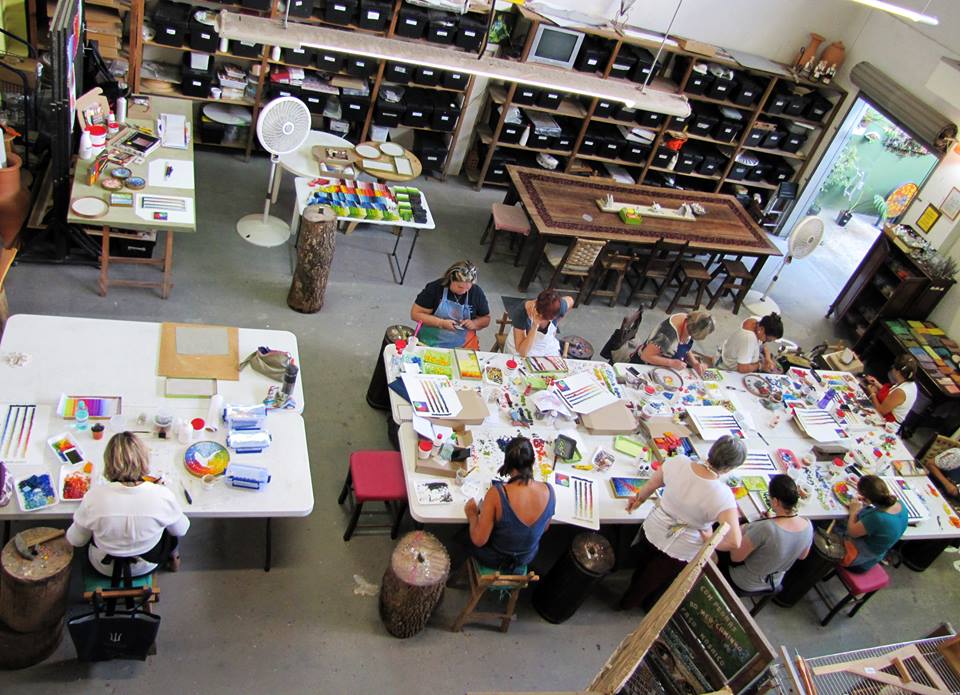
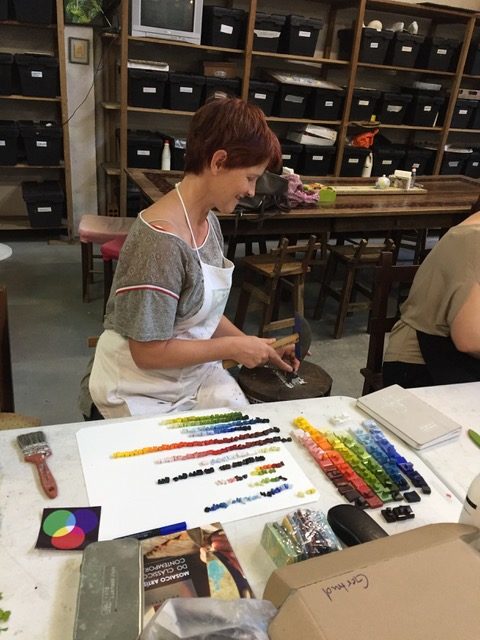
In the first two days we learned about color spectrum and how we can mix colors according to it without being able to physically mix colors which of course is not possible with mosaics.
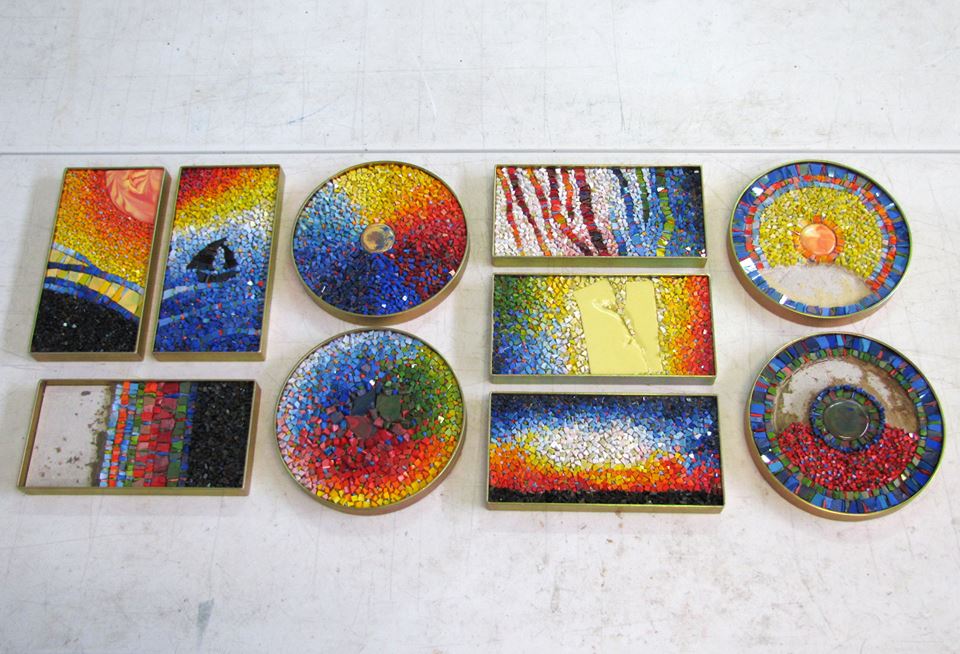
We produced a color chart with the three primary colors Red, green and blue going from light to dark.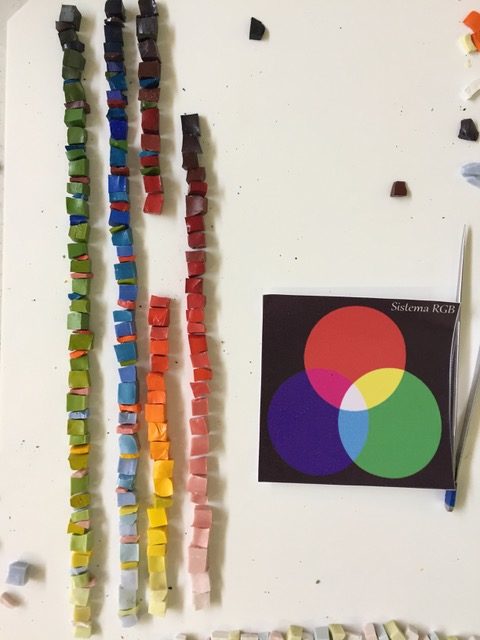
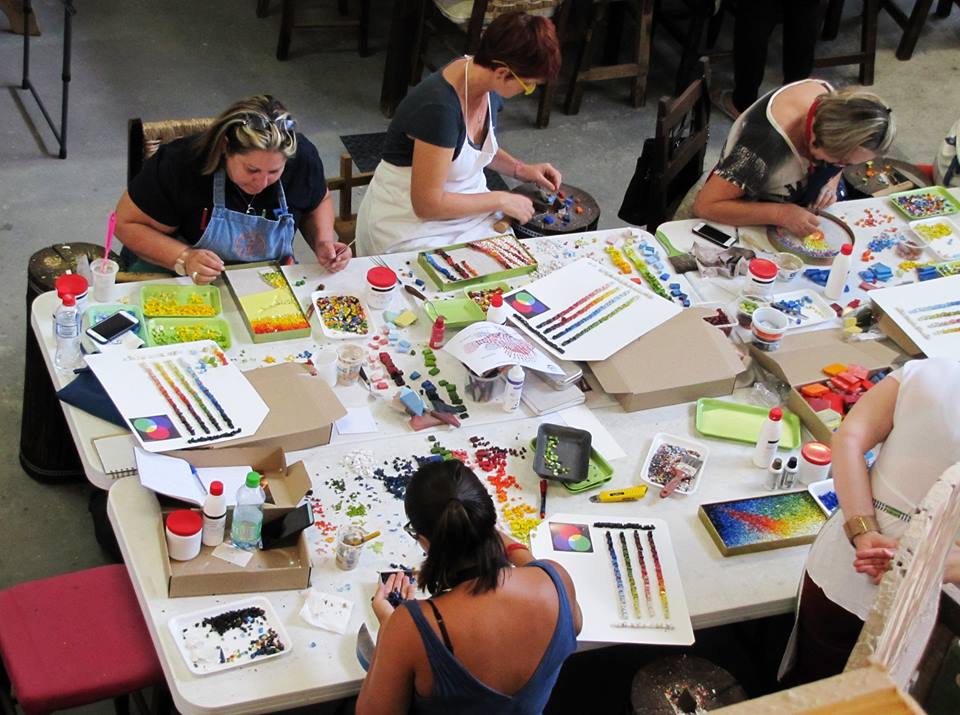
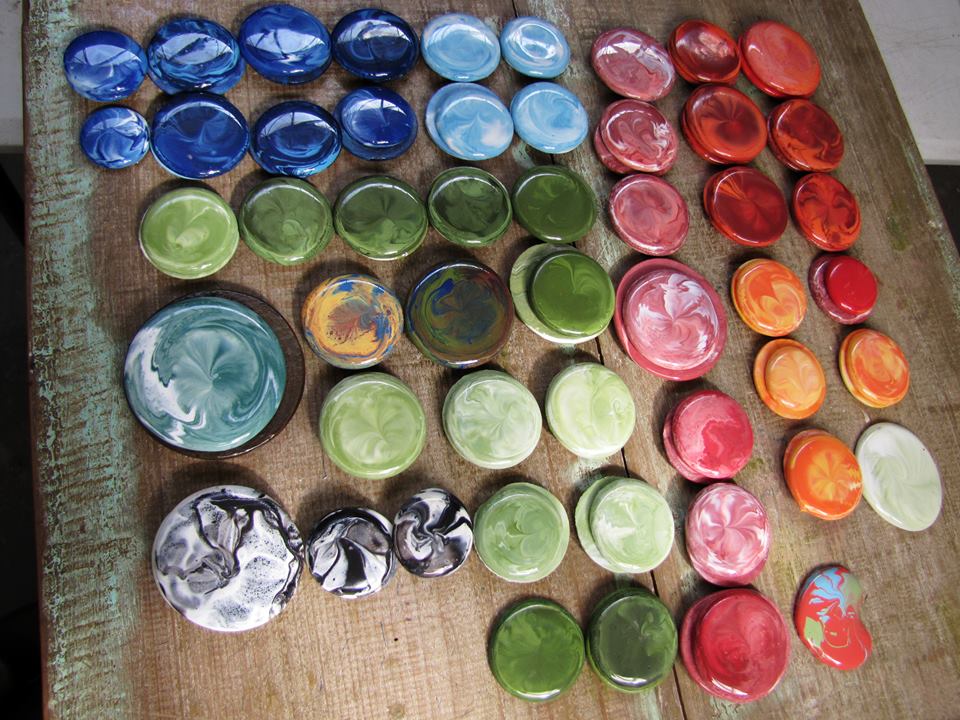
As material we were offered to use a new vitreous paste produced in Brazil that comes in many colors and also mixed.

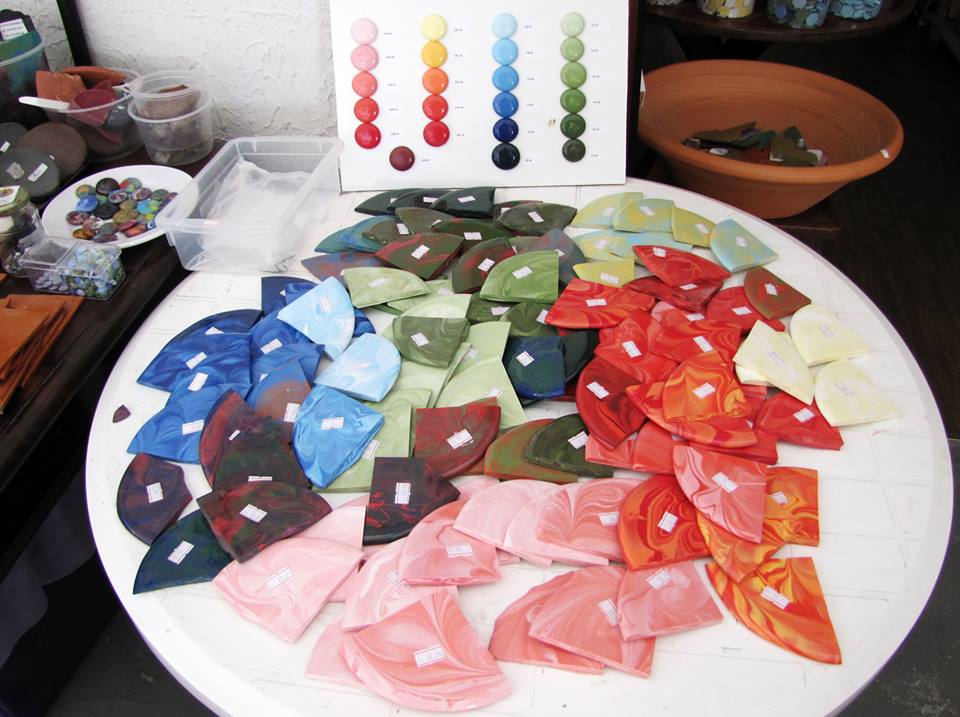
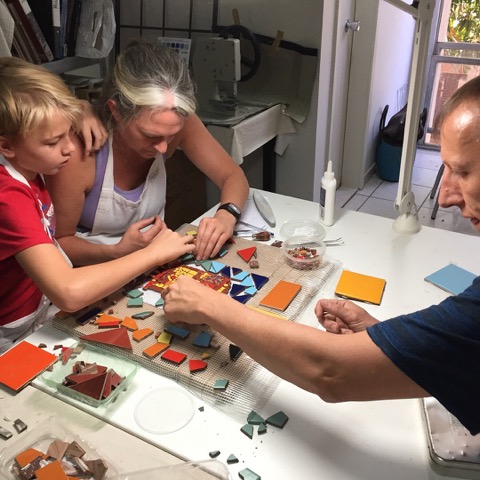
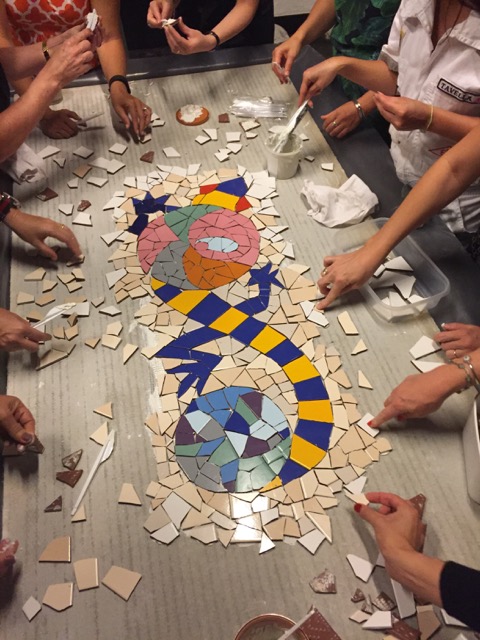
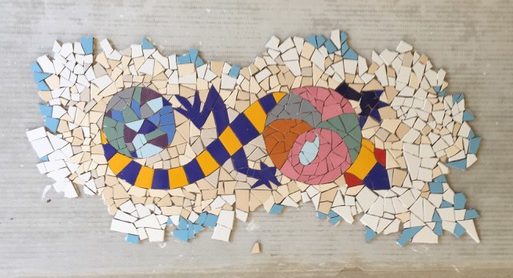
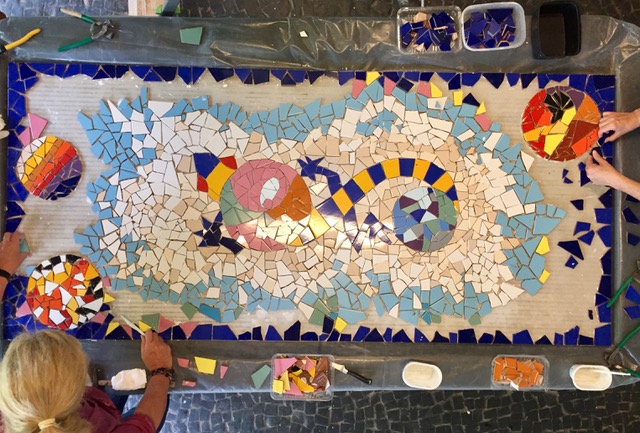
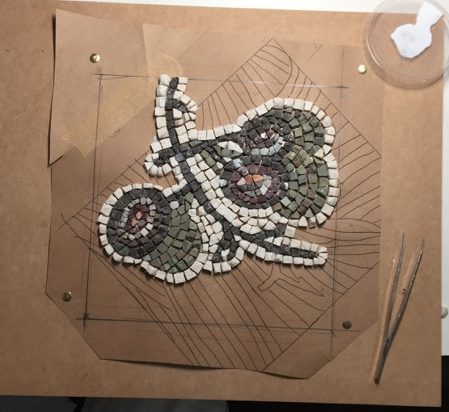
On top of using new material and a new color range we were introduced to a new setting technique for wich you set trapezoid shaped cubes twisted onto one corner directly into cement.
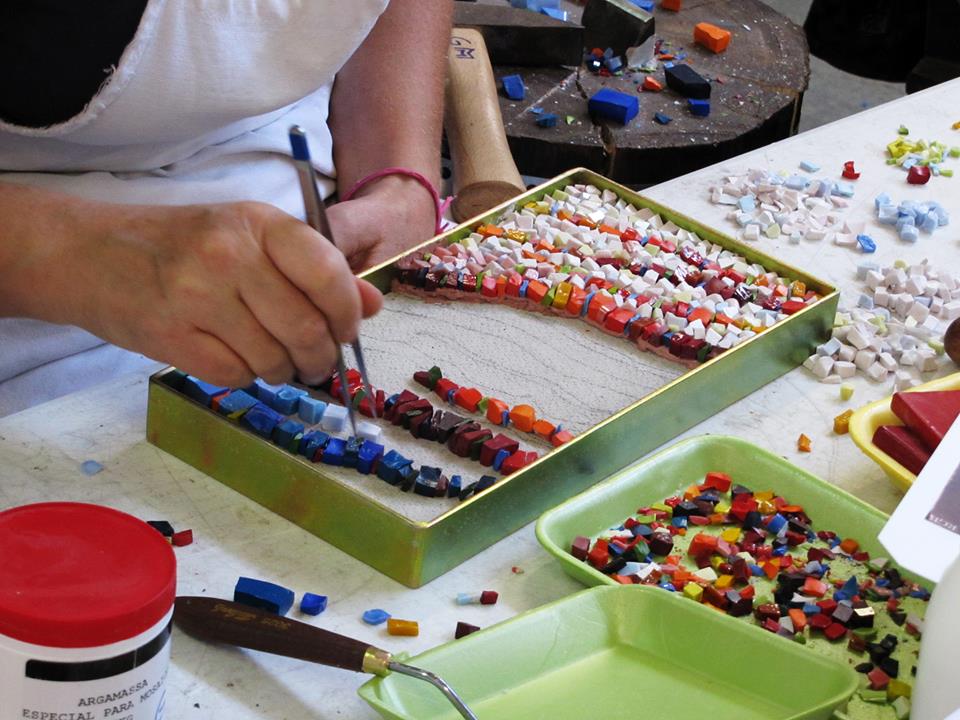
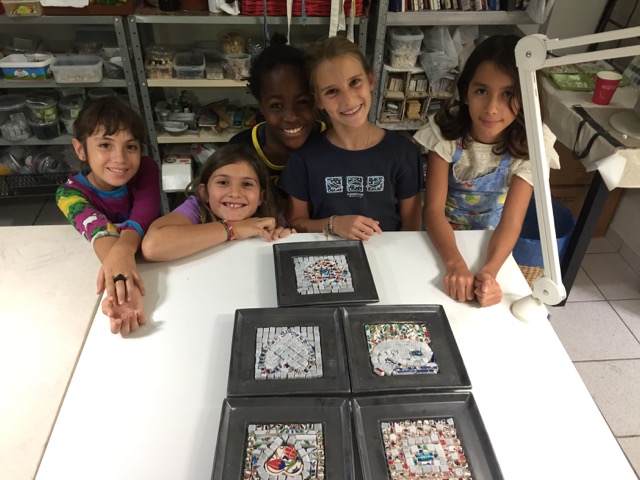
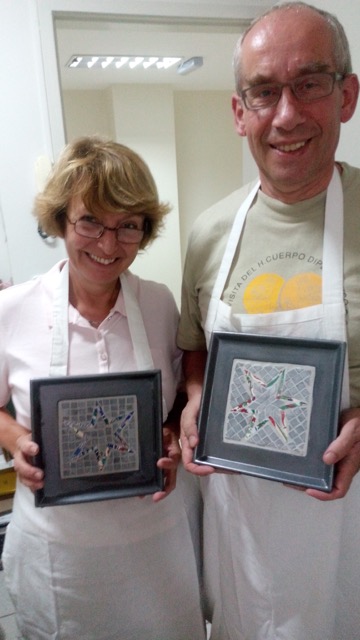
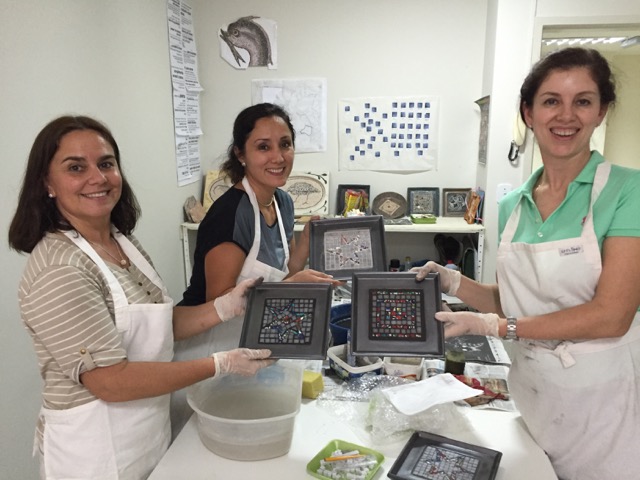
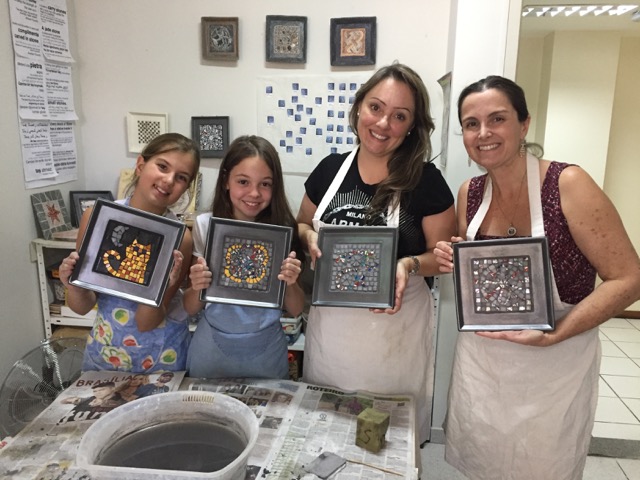
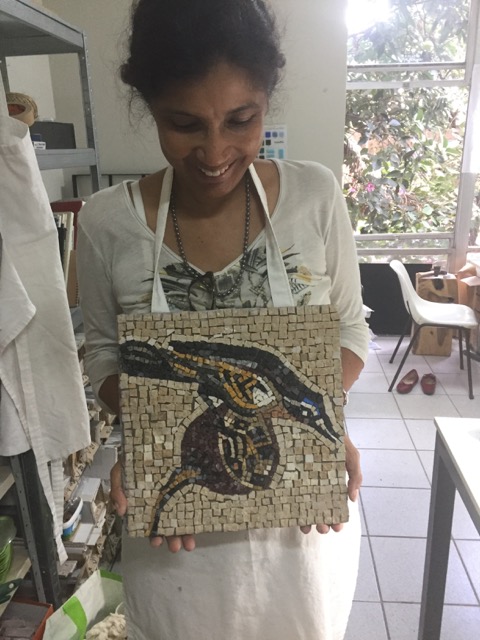
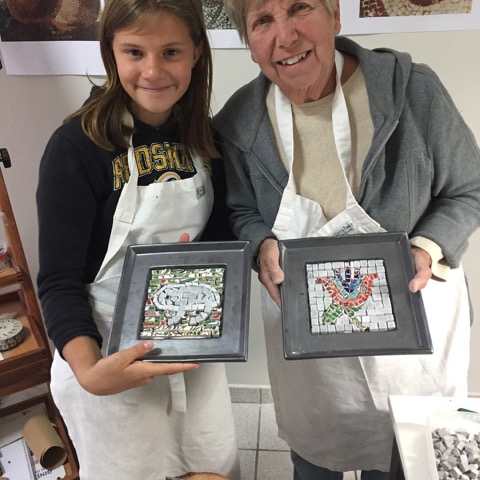
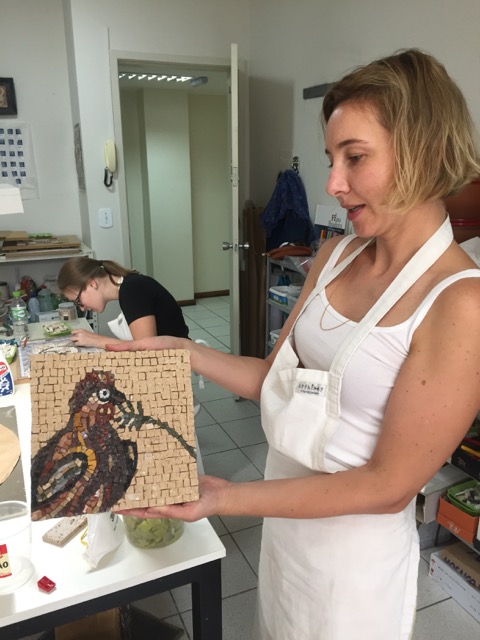
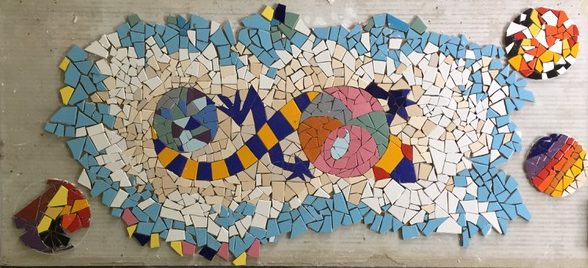
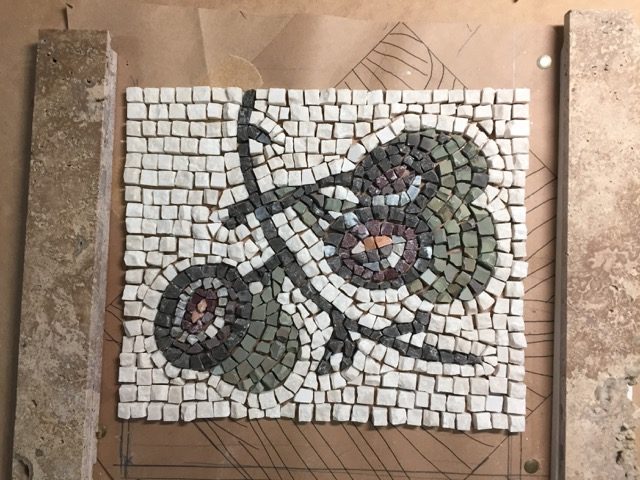
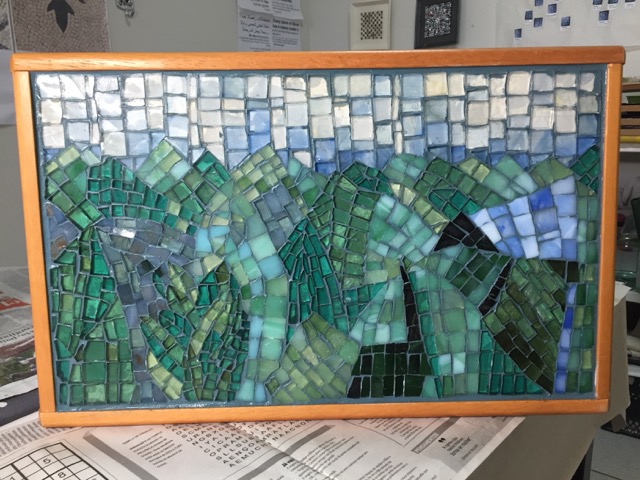
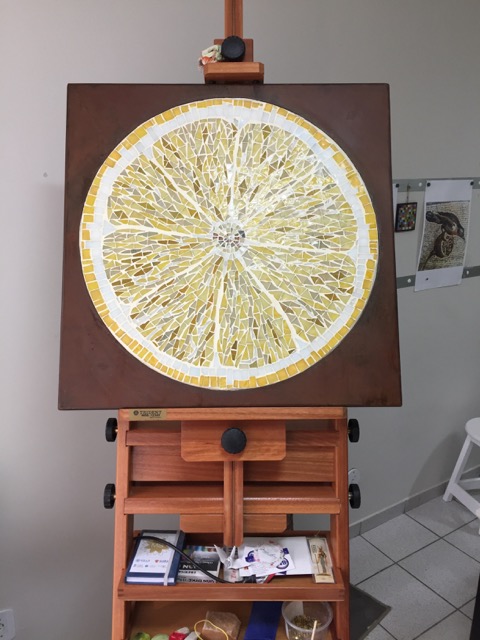
This was not easy to execute: breaking new material with hammer &hardy, applying it according to the color theory and in a new setting technique. The course lasted from Monday till Friday, 9.00 – 18.00. I was truly exhausted. But it was absolutely worth it. Look at the study pieces of all students below!
All earned their certificate! All students standing and the organizers and teachers kneeling – from left Leticia Melara, manager of Deposito do Mosaico, Curitiba, Mariella & Michelle Bonetti, Teachers of the course and Mosaicists from Urussanga, Santa Catarina, Bea Pereira, mosaicist and owner of Deposito do Mosaico, Curitiba.

 So thank you to all my students to give me the chance to pass on what I most like in life – making and learning about mosaics.