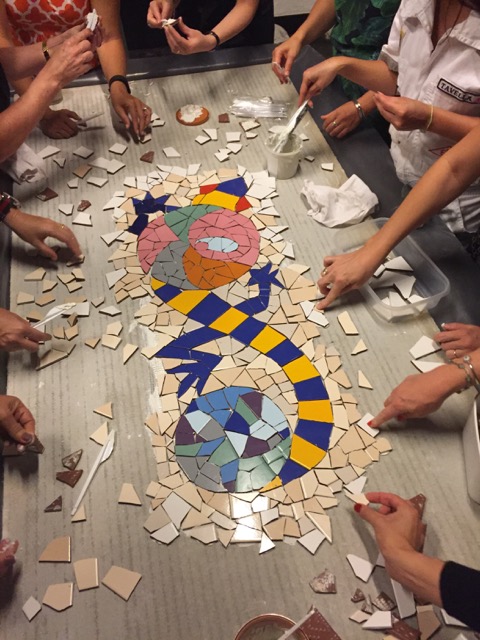
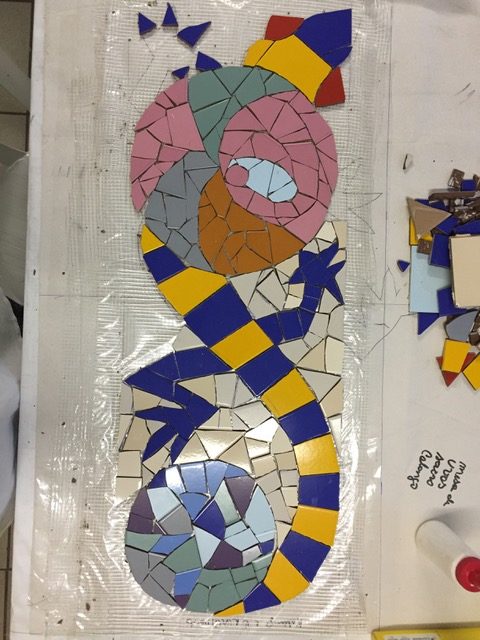
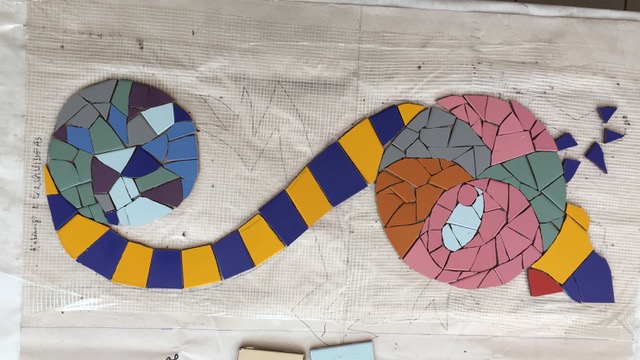
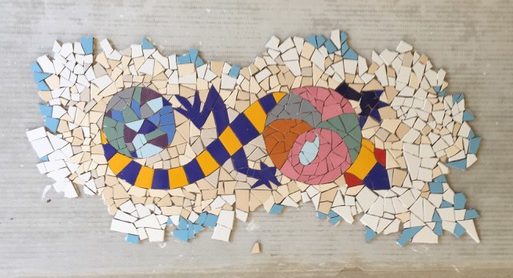
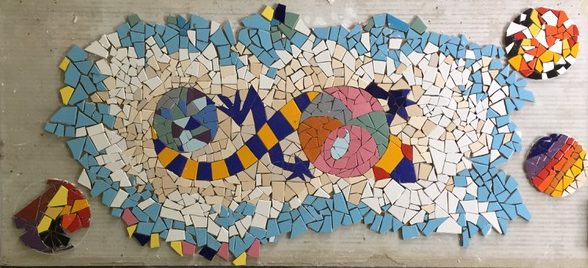
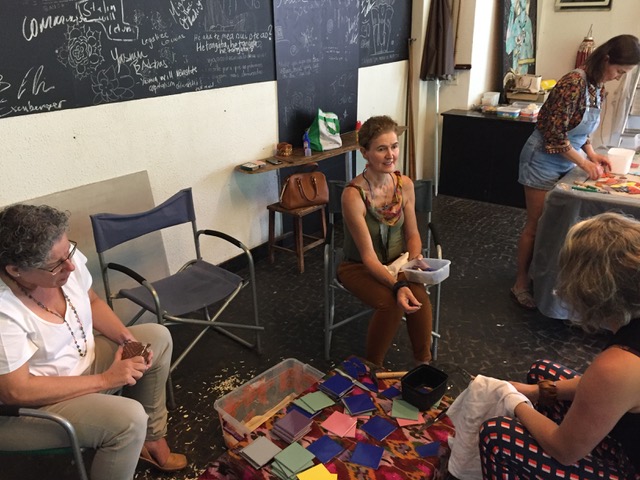
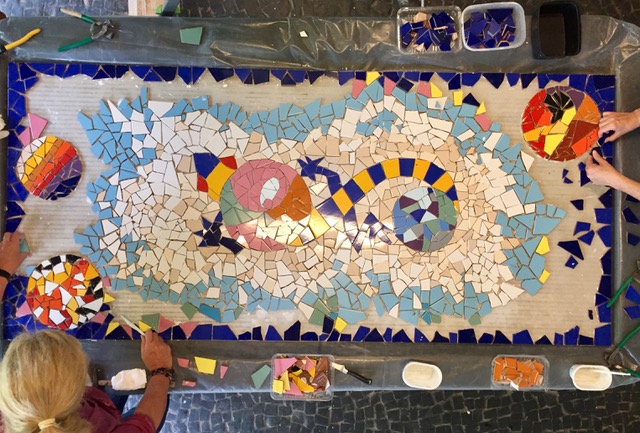
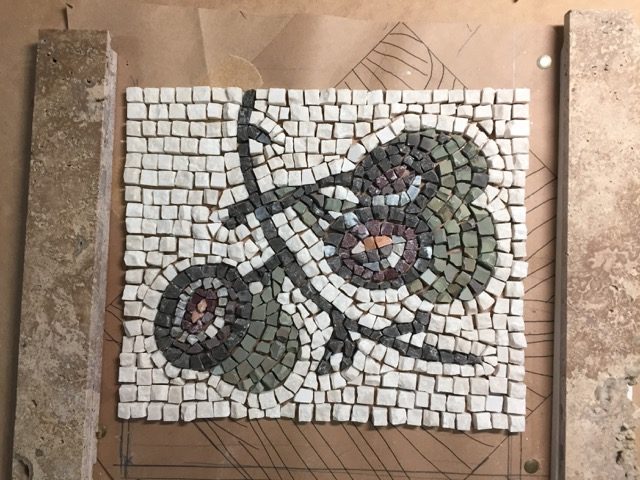
At my birthday party in October I invited my friends to do some joint mosaic making. The figure of the lizard was already made kind of an unfinished product of another project that my friend and neighbor in the atelier Cida Carvalho and I made – from the beginning a mosaic of two hands wich turned into a mosaic of many hands.
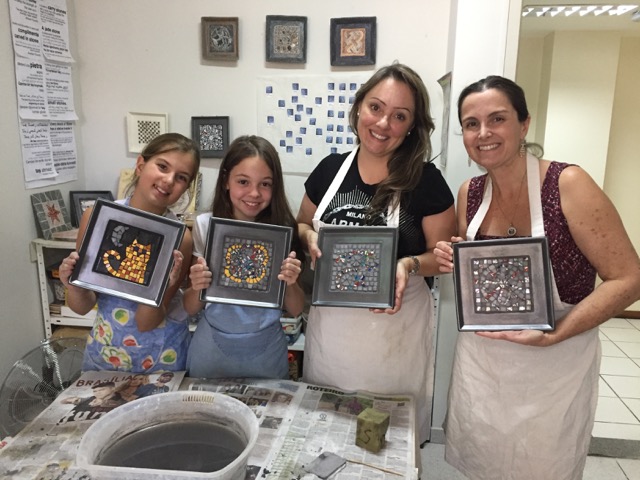
5. October
12. October
27. January
2. February
8. February
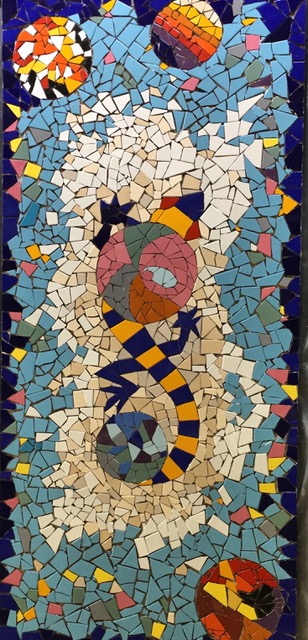
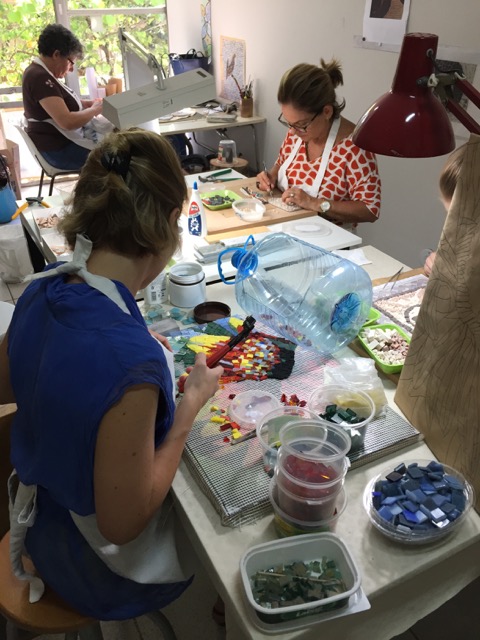
All together more than 20 women worked on the the mosaic. Now the mosaic is finished but not grouted and we are looking for a place to install it. This is the my task now to find a public wall that can hold the 90x200cm big and more than 50 kg heavy mosaic! Not so easy!
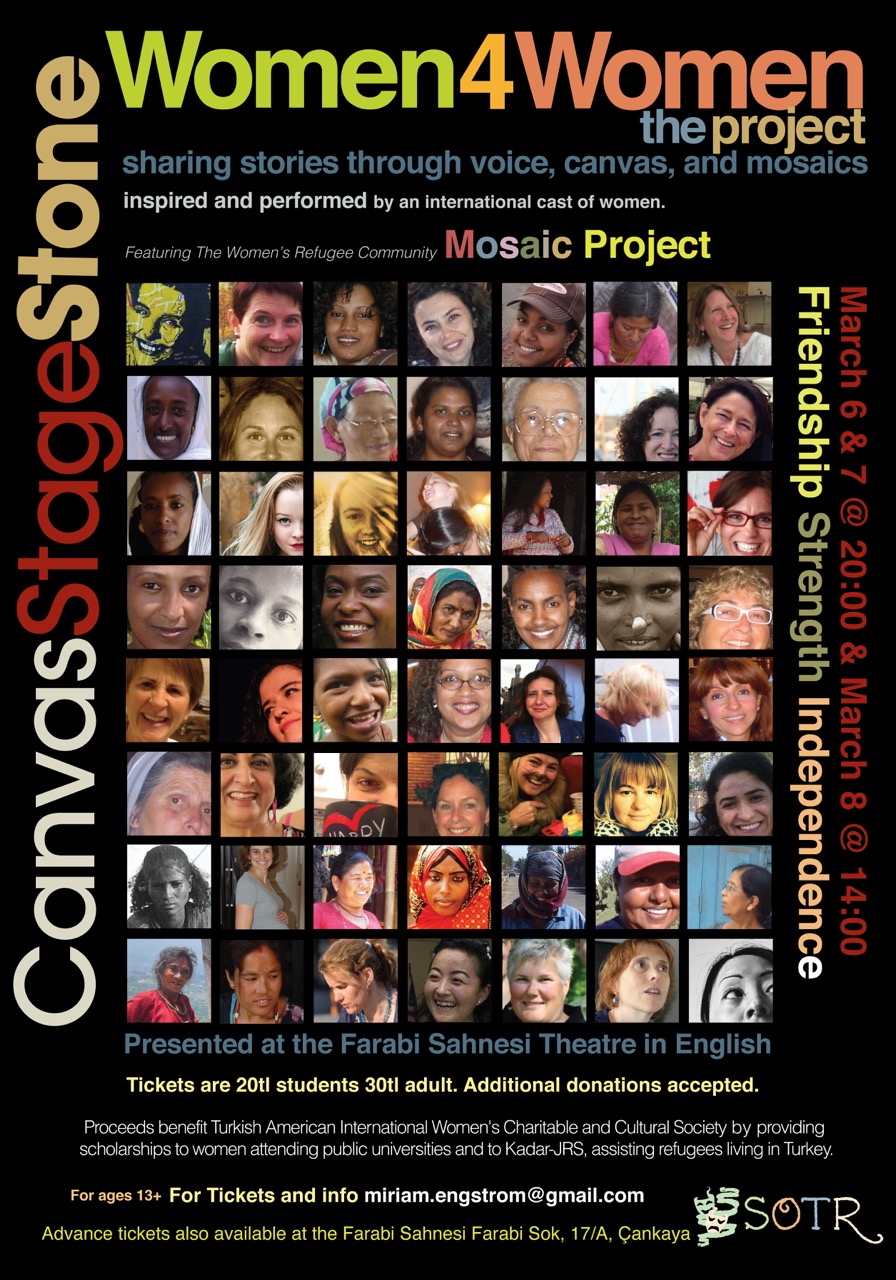
click on the link below to see the advertisement!
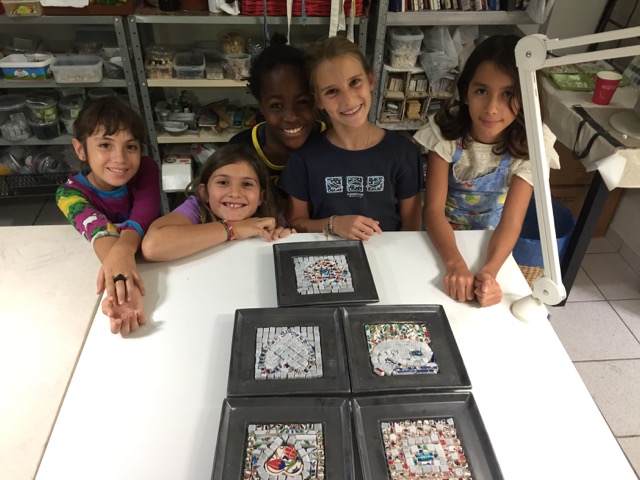
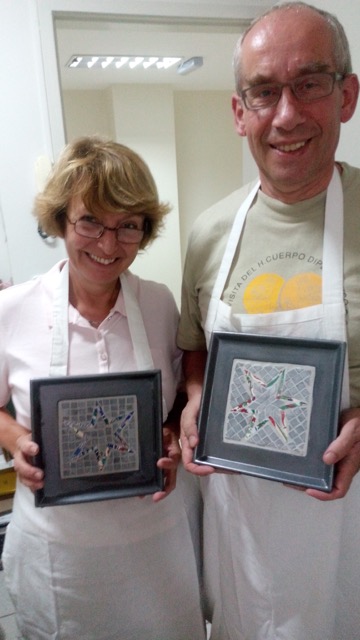
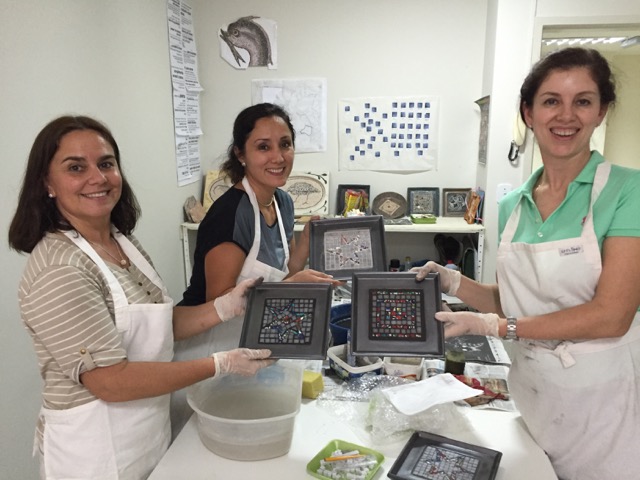
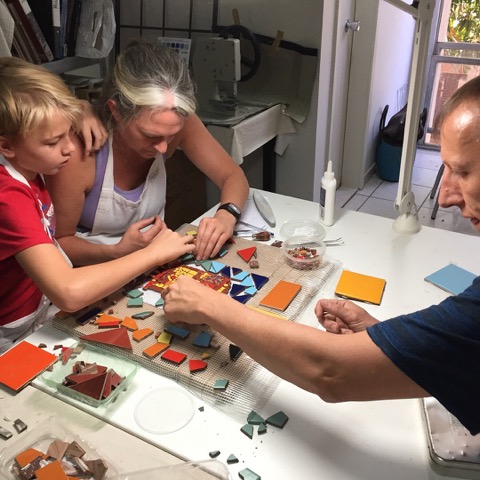
 So thank you to all my students to give me the chance to pass on what I most like in life – making and learning about mosaics.