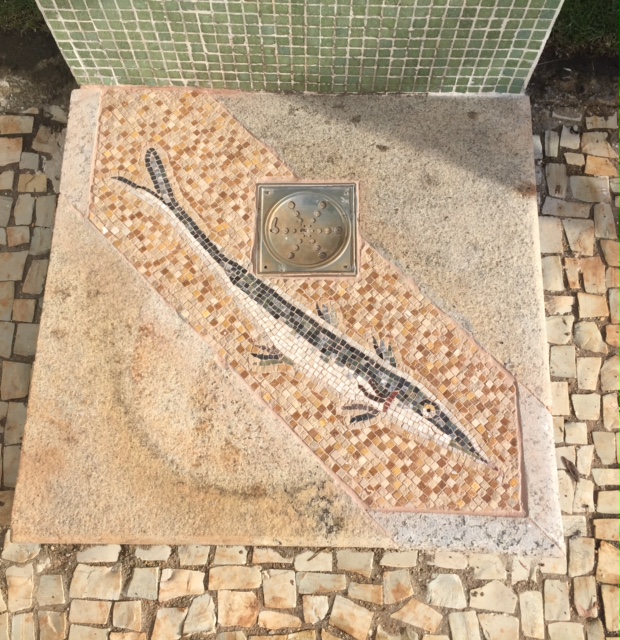
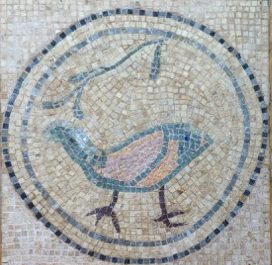
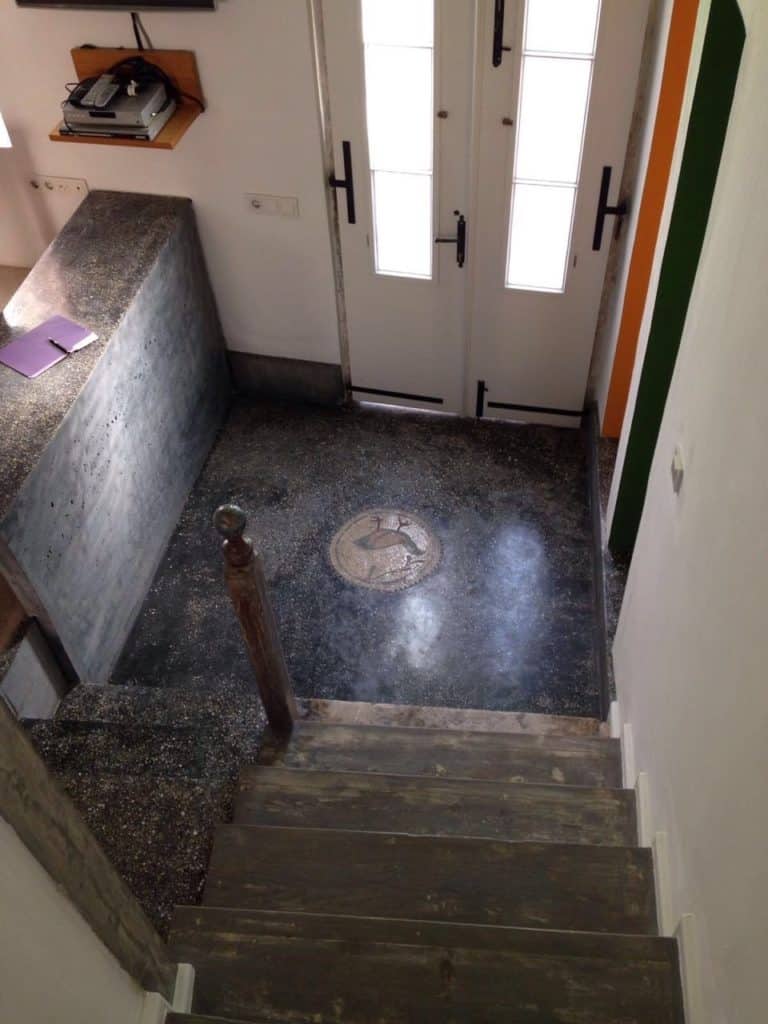
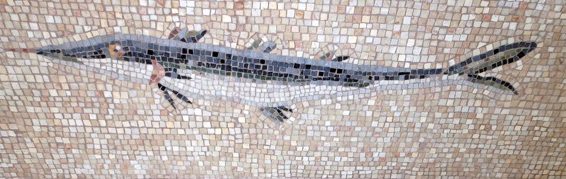
 I am very happy that finally, after meticulous renovations, the Mozaikli Ev in Ayvalik is now ready to receive guests. You might have followed my diary on this blog about the creation of the mosaic floor in the hamam of the house. It had always been my intention to make a natural stone mosaic that people could enjoy by using it and not just as an art object. I was fascinated by the durability of the ancient mosaics and their subtle colors and wanted to recreate the experience that people in ancient times would have had. Like in an antique roman villa, guests are greeted at the entrance with a bird from Sobesos in Cappadocia.
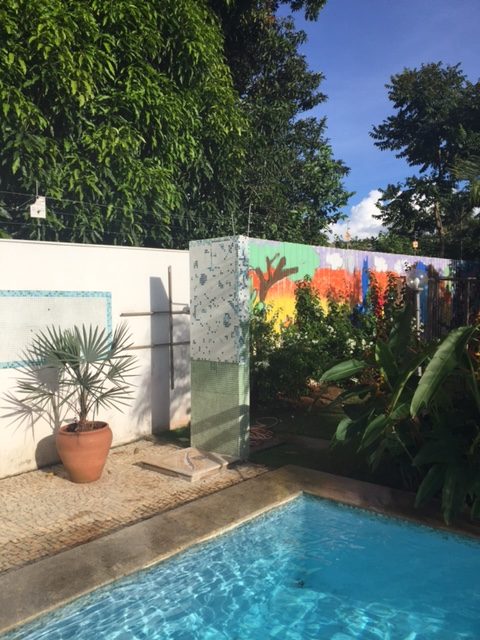
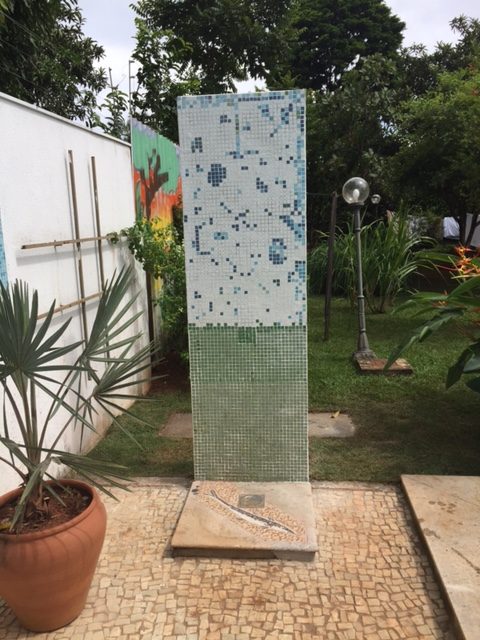
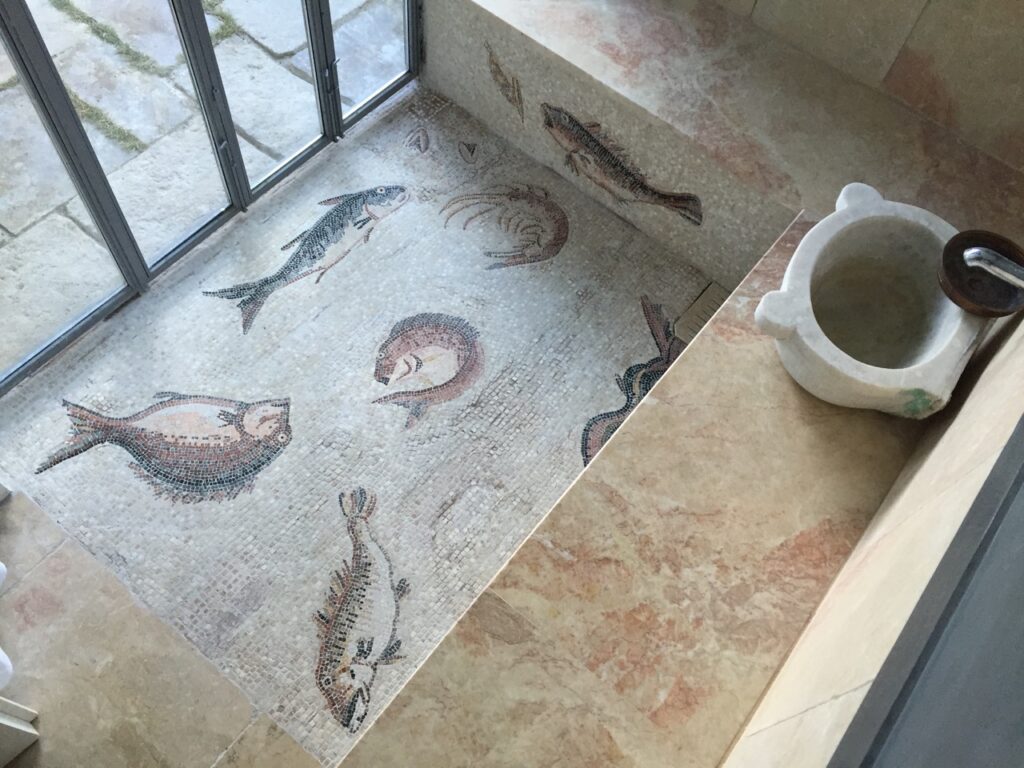
And life with the mosaics continues in the garden hamam. Whilst playing with water sitting on the marble benches at the hamam you can be part of the conversation of friends, sitting around the garden table in the shade of the mulberry tree, contemplating the different fish from Zeugma’s Neptun, Oceanus and Tethys Mosaic on the hamam floor.
If Mosaikli Ev has whetted your appetite and you’d like to see more, you can visit the magnificent mosaics of Pergamon’s “Building Z” only one hour car ride away.

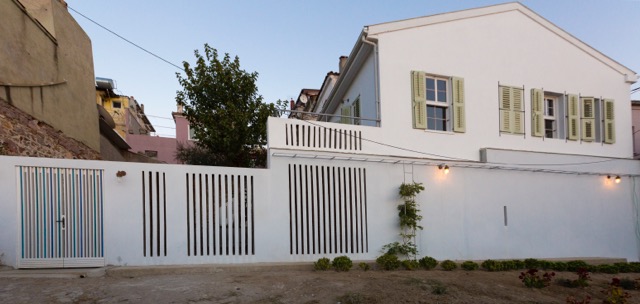
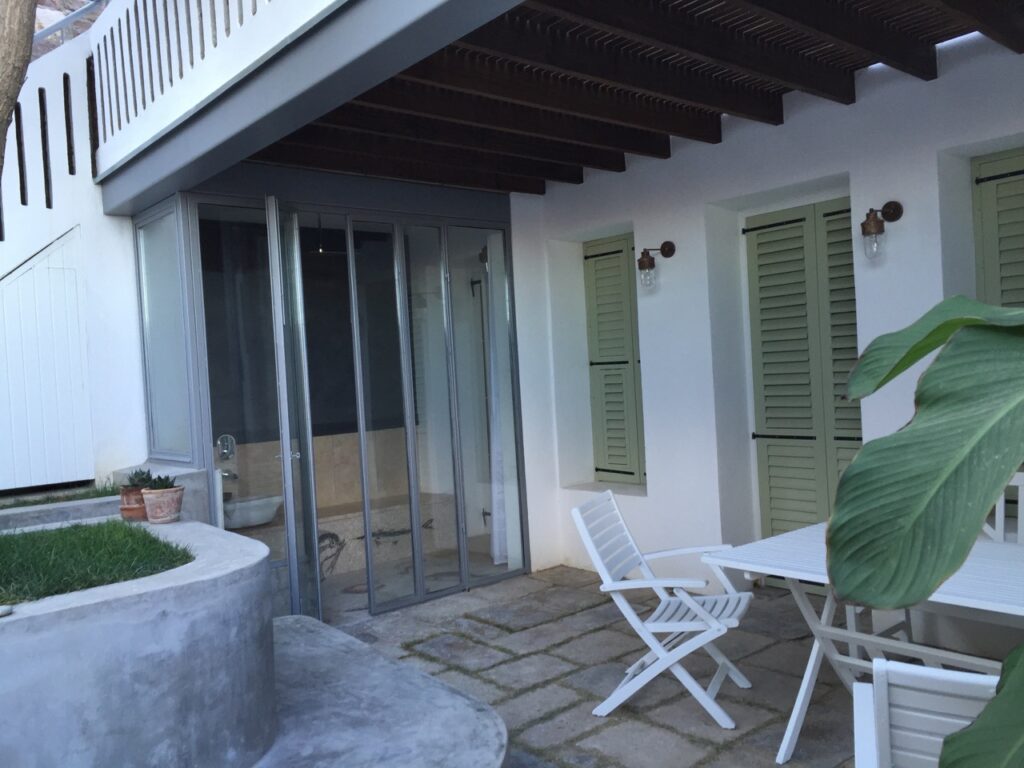
Mosaikli Ev offers not just an experience of living with mosaics. The house is in the old center of Ayvalik, a little harbor and market town on the Aegean coast, where you can still find lots of traditional Turkish small town life, and indulge in delicious Turkish food. Mosaikli Ev is an old stone house, beautifully renovated and fitted with all modern amenities!
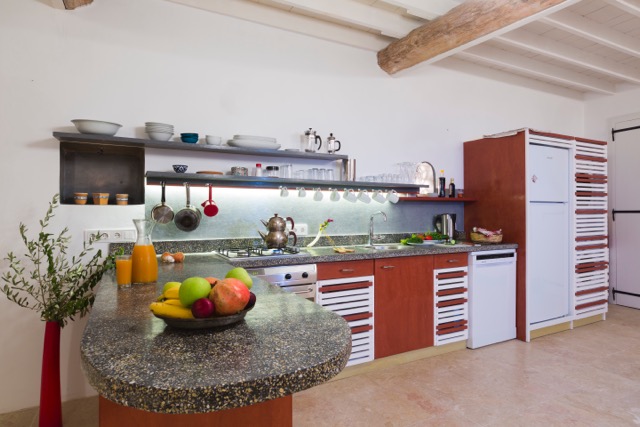
- spacious live-in kitchen equipped for fine cooking sessions
- 6 beds (2 bedrooms with double beds, 2 divan beds in kitchen and upstairs living area)
- 2 bath rooms/toilets
- dishwasher
- washer/dryer
- terrasse with magnificent sea view
- shady garden with garden hamam for cooling in summer and warming in winter
- floor heating and a fire place to keep you cozy throughout the year

If this sounds attractive to you then be our guest and enjoy your holiday at the Mosaikli Ev (mosaic house) in Ayvalik!
https://www.manzara-apartments.com/willkommen-in-istanbul/
The house has been decorated and is lovingly serviced by Manzara Ayvalik. Please contact the manzara team for more information and booking:
info@manzaraapartments.com
TEL : +90 212 252 4660
FAX : +90 212 249 0916
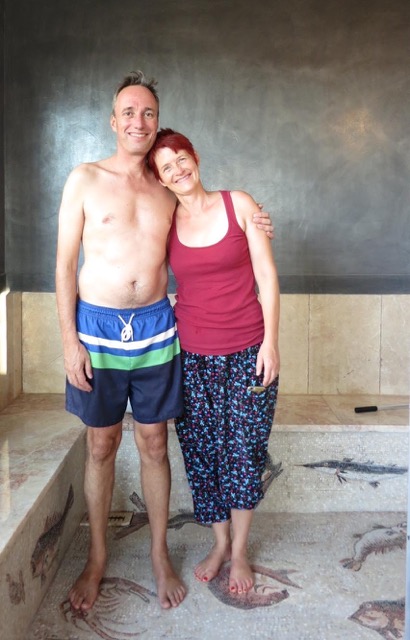
If you want to contact us, Gertrud&Martin, the proud owners, please write to
gertrud.muller@gmail.com
martinchraiser@gmail.com