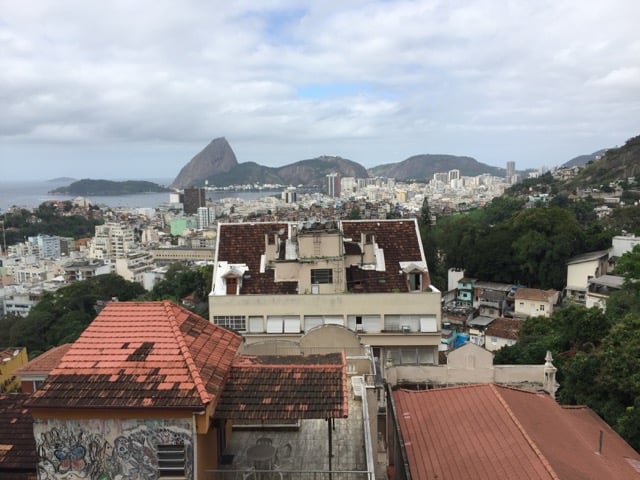
If thinking of Rio de Janeiro mosaic is not what comes up your mind first. Its the sugar loaf or the Corcovado that are the images of this extraordinairy city. If you think of Rio you have these views in mind:
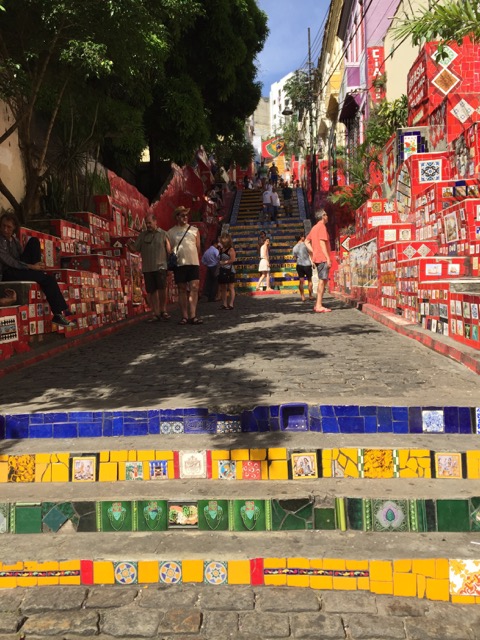
Maybe some of you which have been to Rio might have gone up or down the famous stairs that connect the district of Lappa with Santa Theresa. The stairs were decorated with tiles over many years by a chilenean artist who sold postcards to be able to buy more tiles and got so famous that tourists from all over the world sent him tiles typical of their countries or depicting their home town which he then incorporated in the decoration of the stairs. We even found a tile from the city my father was born in “Erfurt” in eastern Germany.
But I wanted to see more mosaics in Rio. Through a friend in Brasilia I got the contact of Moema Branquinho who lives and works as a mosaic artist in Rio. Asking if I could visit her in her studio she offered to give me a tour of mosaics through the city. Last Saturday we set off with her friends son as driver to a mosaic tour of Rio de Janeiro.
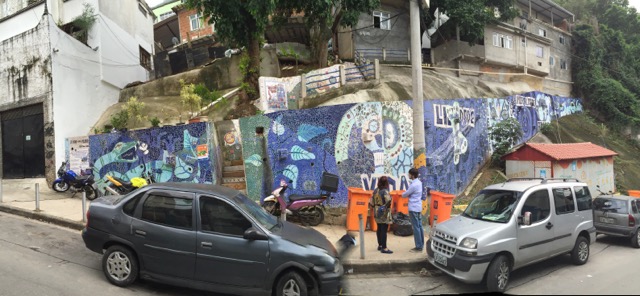
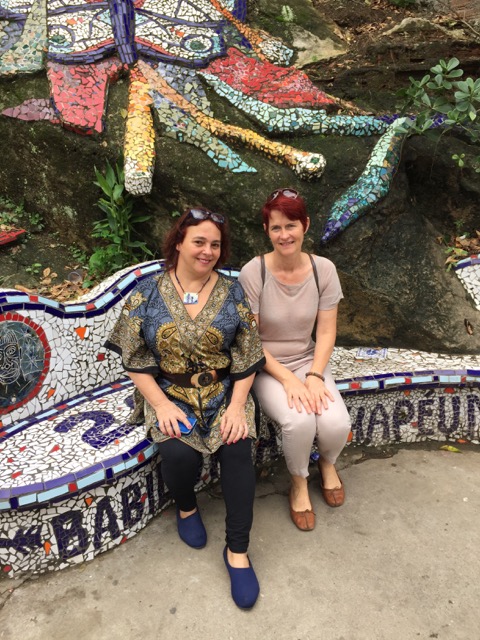
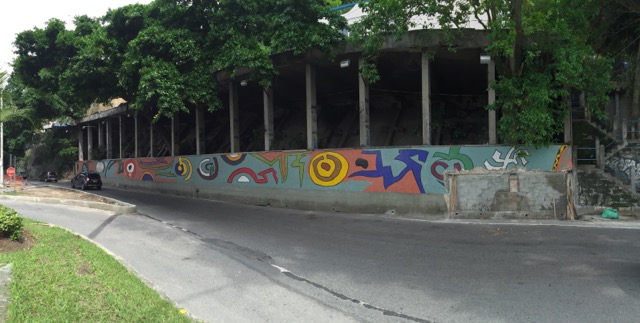
The begin was a large wall mosaic in one of the pacified favelas of Rio – the favela Babilonia on top of the city district Leme at the end of Copacabana. This mosaic happens to be next to the Pousada “Casa Babilonia“where I usually stay when in Rio.
The favela Babilonia winds itself up on a very steep hill, only half way accessible by roads, later only by steps. From a bar on the top of the favela you have a breathtaking view over the bay of Copacabana. It is absolutely worth going up there and have a drink at night.
But here is the mosaic I was talking about earlier. It was made by European mosaicists (either from Czech republic or Belgium – I got two different information) in 2014. It is a large mosaic of at least 30m length covering a retaining wall on the main crossroad of the favela. It’s made from ceramic shards and some moulded elements. It absolutely is dominating the crossroad with its large designs in blue and white. The project was sponsored by the owner of a pousada that is located opposite the mosaic.
There is criticism that the artists came, created the mosaic without consulting or involving the habitants of the favela and left them with the gigantic mosaic wall. Apparently the designs awake fear in some people es the blue and white tones are creating ghost like images at night. You might know that a favela (slums) unfortunately is always connected with violence and fear.
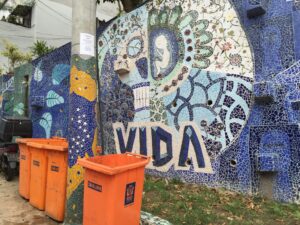
The lamp posts opposite of the mosaic wall are also decorated with mosaics. I like it very much!
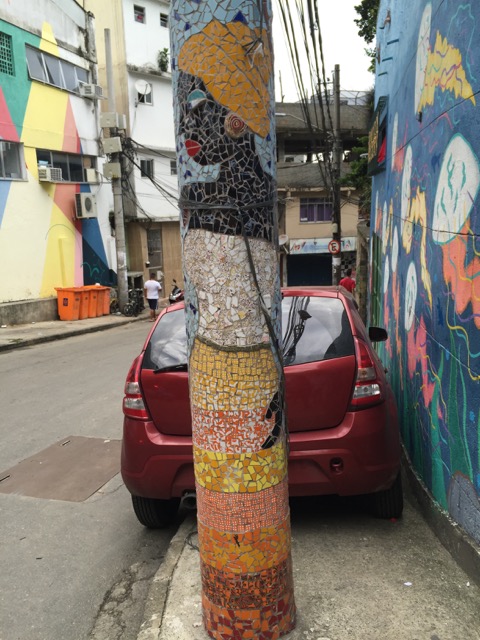
Mosaic decorated lamp post – nice selection of colors for the skirt of the lady!
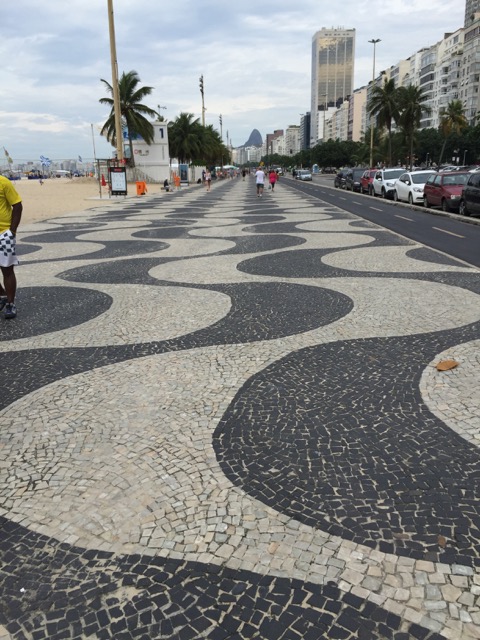
Walking down from Babilonia you end here – Copacabana – at the Leme end with its famous sidewalk pattern on Av. Atlantica.
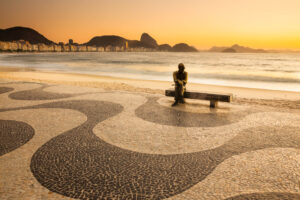
The calcadao (paved sidewalk) first created and installed by portuguese stone pavers at the beginning of last century (out of white limestone and black basalt) showed waves in a right angle to the waves of the sea. 
In 1930s and later in the 1970 by well known Brasilian garden and landscape architect Burle Marx the waves were turned around to be in line with the waves of the sea.
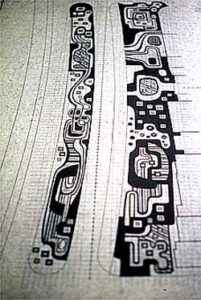
Burle Marx included many other designs of indiginous origins into his patterns for the sidewalk restoration especially at Ipanema.
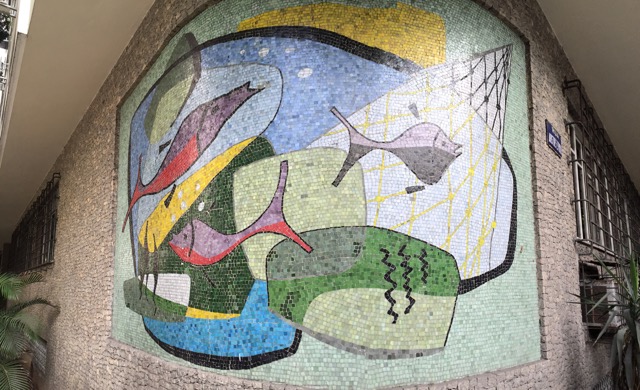
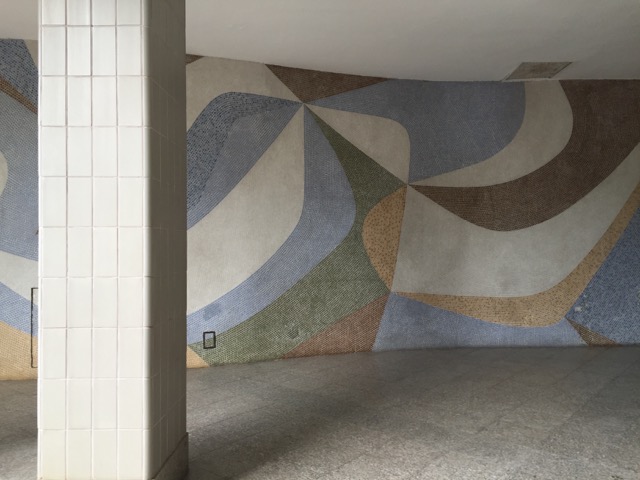
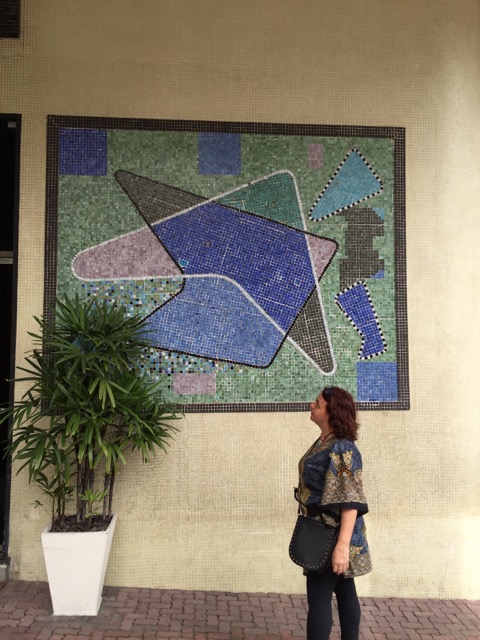
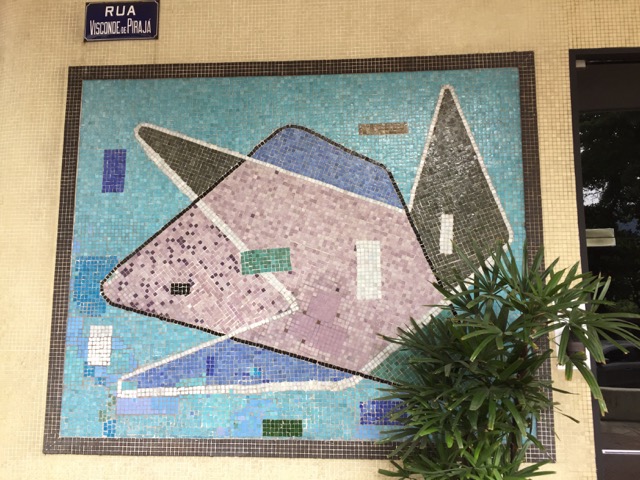
The next mosaics from the 1950s we saw are on the outside of apartment blocks in the upper class living quarters of Leblon, Laranjetas and Flamengo.
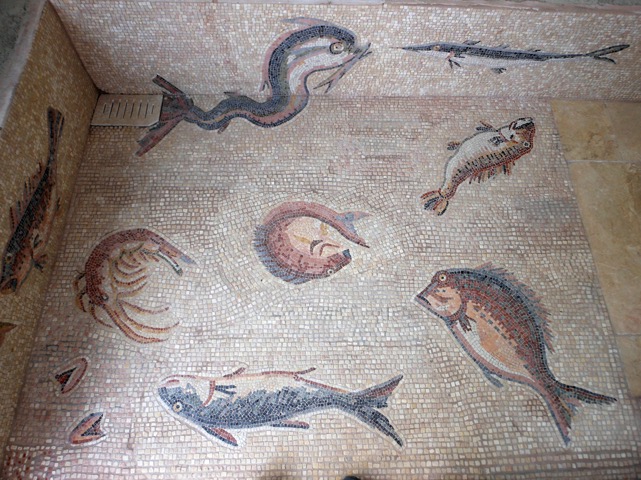
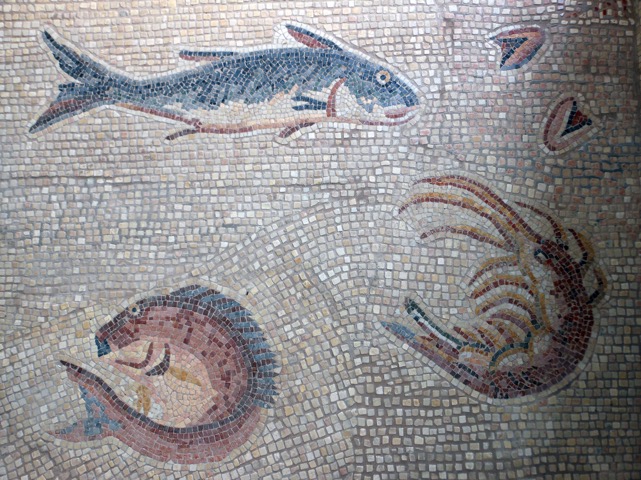
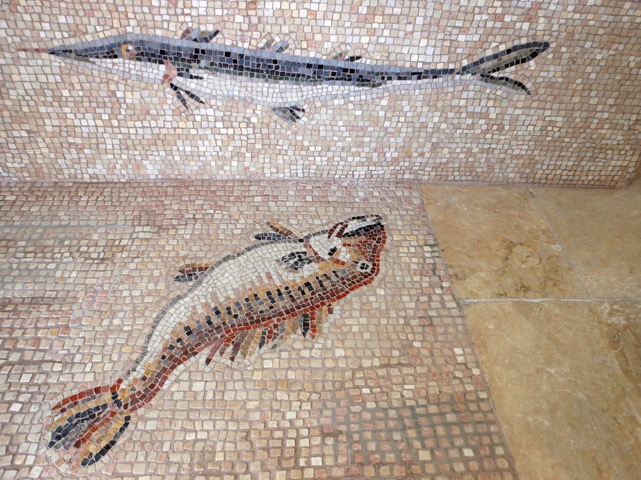
These mosaics are mostly made in pastilhas, vitreous glass squares of about 1cm2, that are readily available in all shades of colors. My favorite is this one with the fishes. I love the composition and the colors. It is in a well preserved state. Unfortunately it is tricky to take good photos because most of apartment buildings are fenced in (for security reasons) so you can not take a picture from far away without the fence. This photo in pano view is the best I could get.
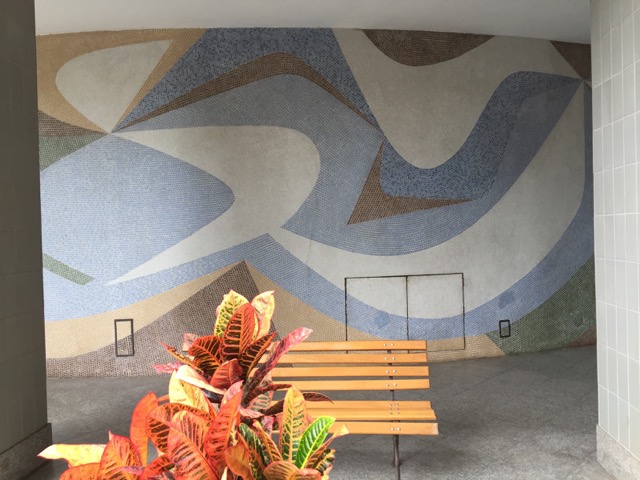
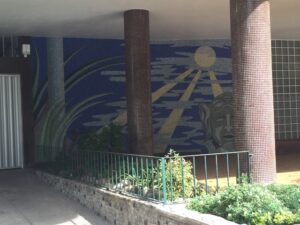
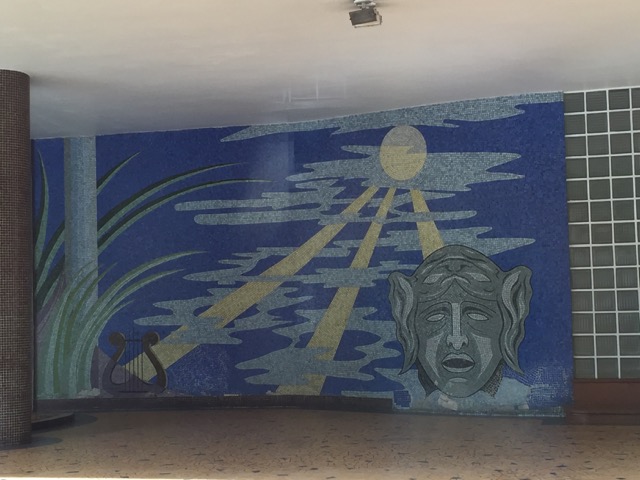
The mosaic is made from especially produced ceramic pastilhas, they are not glazed but made from colored clays, again the building is fenced in and the mosaic difficult to photograph as a whole
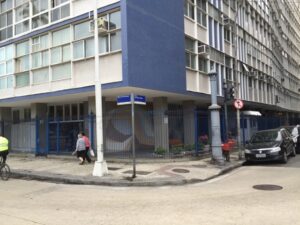
Another nice composition of a mosaic from the 1950s by an unknown artist we see at the front of an 8 story building on Rua Visconde de Piraja in Ipanema.
This mosaic has been repaired several times and Moema points out not in a very preservative way. The squares with no line
around have been put in whatever color as part of the repair works. She tells that there are no specialists in mosaic conservation in Brasil.
A much newer mosaic designed by brazilian artist Chica Granchi you can see opposite the Sheraton Resort Hotel on Av. Niemeyer. Unfortunately it is in a bad condition but it seemed some repair work was going on. The artist has a comment on her Facebook page which says that she is very concerned about the condition and has tried to contact responsible people in the citys conservation department about it.
Finally we went to visit the works of Moema.
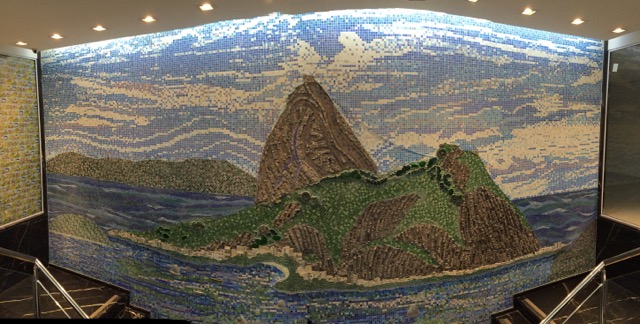
Her biggest work is a wall decoration in a stair case of a shopping mall in the district of Laranjeiras.
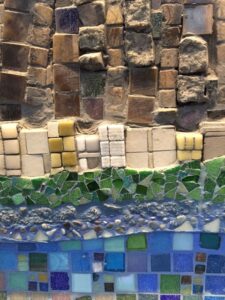
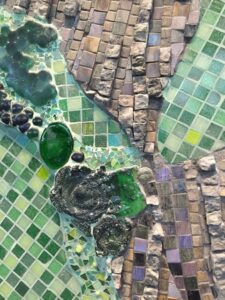
It pictures a view of the sugar loaf. The mosaic is made with mixed media of pastilha, glass bottel pieces, natural stone and even a bike chain for the rope of the cable car. Lovely work! Its 30m2 and took her months together with 3 workers. It has not been officially inaugurated as the shopping centre is not yet fully open. Its a lovely work of great composition and excellent craftsmanship
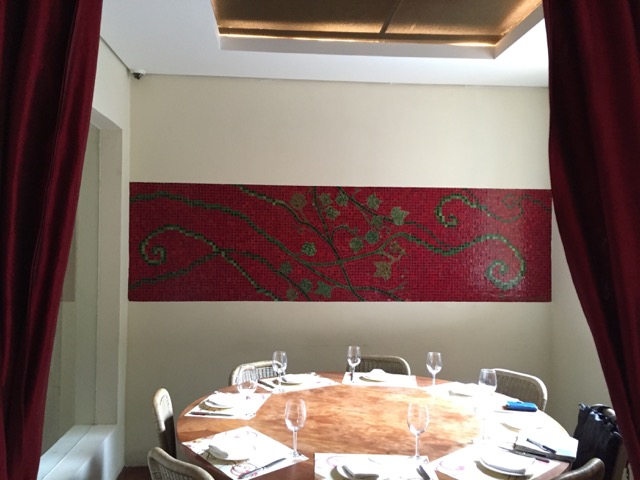
Finally we had lunch at the Salitre wine restaurant in Ipanema where Moema decorated the walls with mosaics in pastilhas. The red wine tasted wonderful in this ambiente.
Rio de Janeiro is not known for its mosaics. But exploring the city with a view on mosaics has been fun and brought me to places away from the tourists paths into areas of ordinary city life be it in the poor district of Babilonia or the areas where the rich carioca’s live, shop and dine.
I am fascinated again where my way of exploring a new place through its mosaics brings me.
