And there they came….
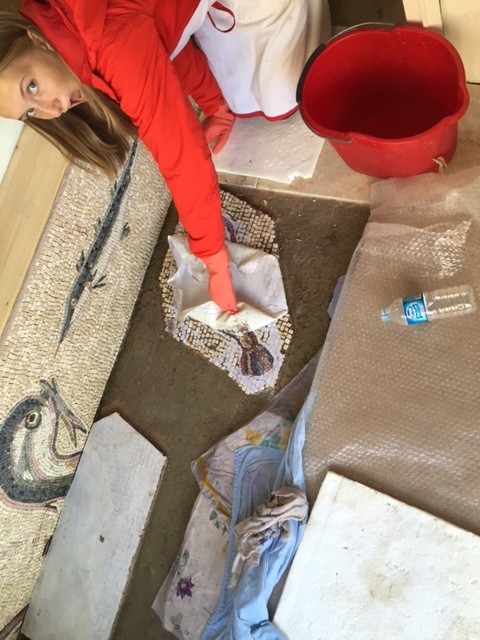
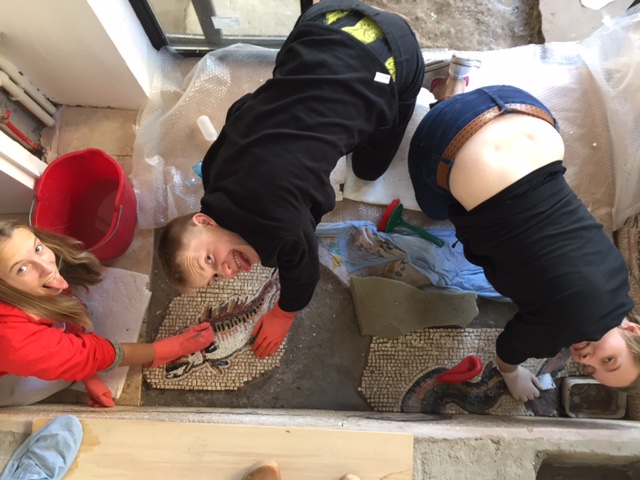
ready for the magic moment of uncovering the floor pieces!
these figures were produced in August in Gaziantep and had been stuck on canvas since then. It was much harder to get the glue off then on the wall pieces. But with the enthusiasm and strength of 3 teenagers and a lot of very hot water and hard brushes we managed to remove all the glue within 2 hours.
I was absolutely stunned how beautiful these figures came out. Almost all tesserae stuck in the cement. There were only a few single stones that were loose.
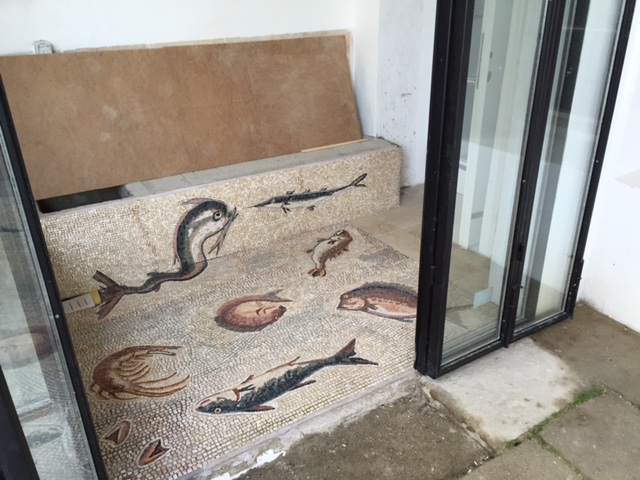
As you can see in the following pictures in the area of the figures where tesserae have been joined tightly together the cement did not get up to the surface. Whilst in the background area, where the spaces between the tesserae was left deliberately larger it mattered how much sand I applied for the cement to squeeze all the way up or to stay down and keep a grout line open.
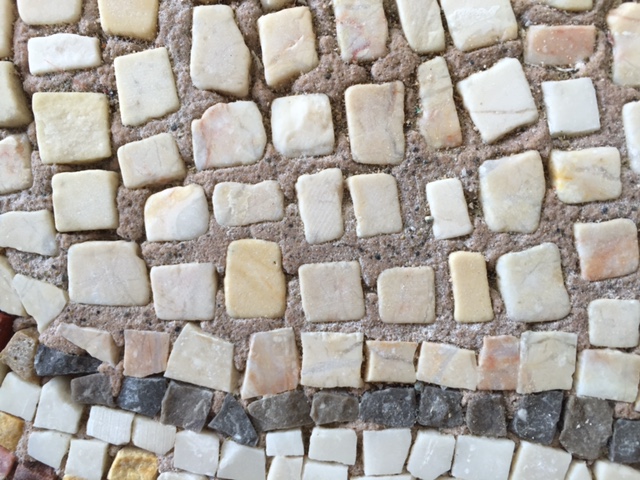
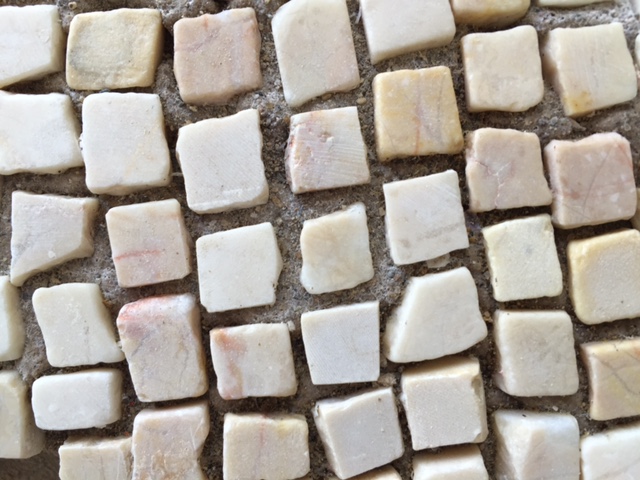
I was afraid the tesserae wouldn’t stick well enough if the grout lines where only marginally filled with cement.
I must admit that at this moment again, I SO much regretted not to use traditional roman cement! In roman mosaics there is just ONE setting cement and no different materials are used for glueing and grouting. This works so much easier as one does not need to be afraid to keep grout lines open when putting tesserae down.
Another time consuming difficulty I created was to have added partly background tesserae to the fish figures. This was not the original plan. I wanted to put just the figures down without any background tesserae and then apply the background directly on the floor. This would have given me more flexibility with the placing of the figures. It would also not have mattered in which direction they were looking.
But because the building work in the room was not ready when I arrived for installation, I had to find a way to start with the background work in the studio.
Knowing about the difficulty that a background with lines would create , I contemplated to fill the spaces between the figures randomly and not use lines. But I decided against it because I was afraid the figures would loose their expression if they would not be in a defined background.

What shall I do with this whirly – twirly figure in the centre?
For filling the gaps between the figures I had 5 days. ( My time was limited, because I negotiated one month away from the family for the installation and I had taken a week extension. So I couldn’t possibly have extended again. Without the help of Berkan Karaduman, a young man that just moved from Istanbul to Ayvalik, I would not have managed it. I am very grateful!
We applied the following method:
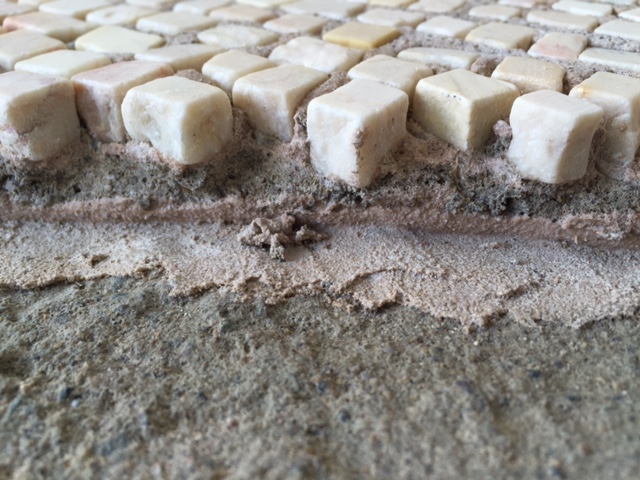
edges of the figures were cleaned of cement with hammer and a fine chisel
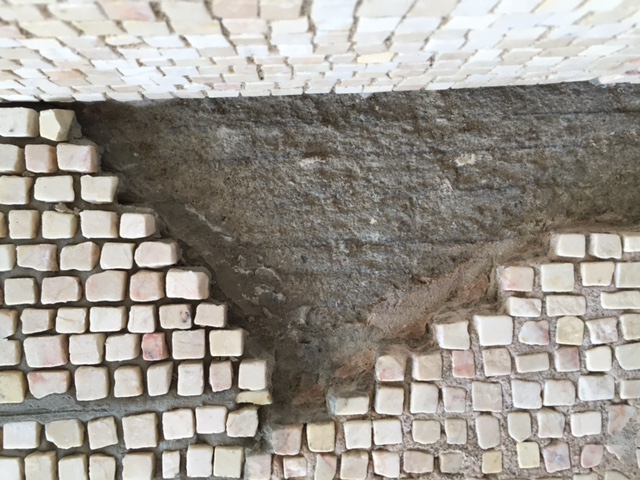
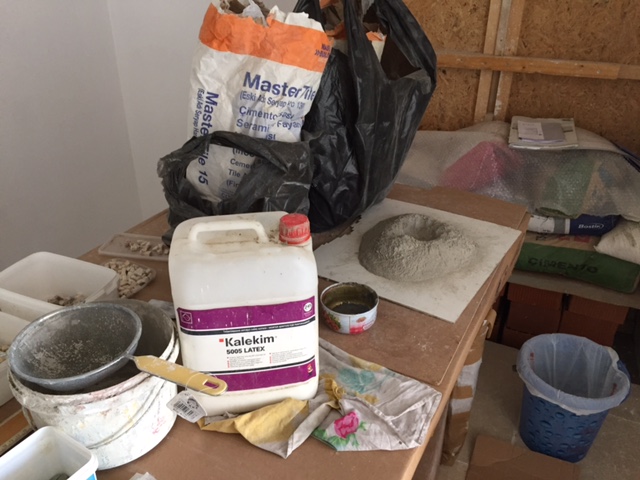
cement mixed out of white and grey tile cement mixed with 1:1 latex and water liquid like a cake dough mix
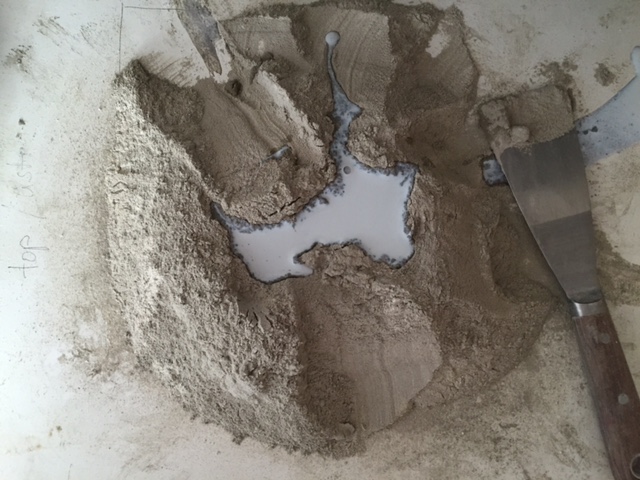
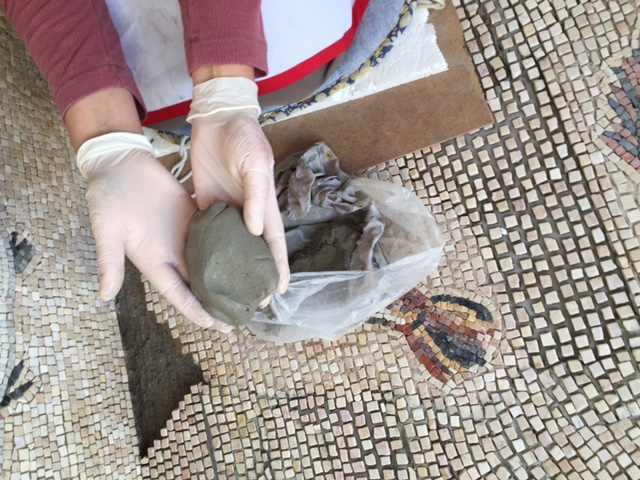
to the consistency of playdough
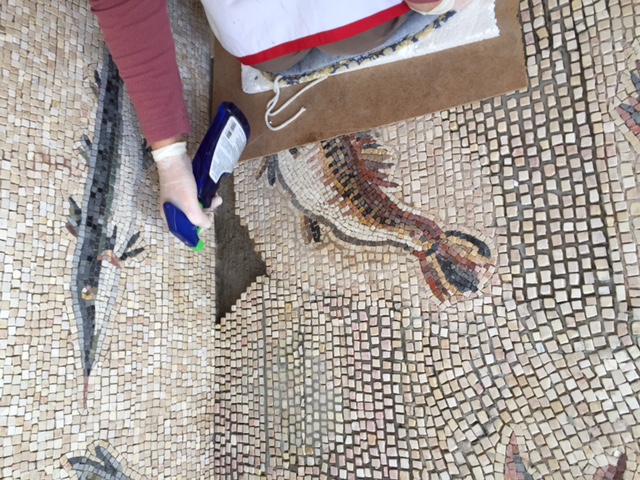
the gap was well wetted with a spray bottle
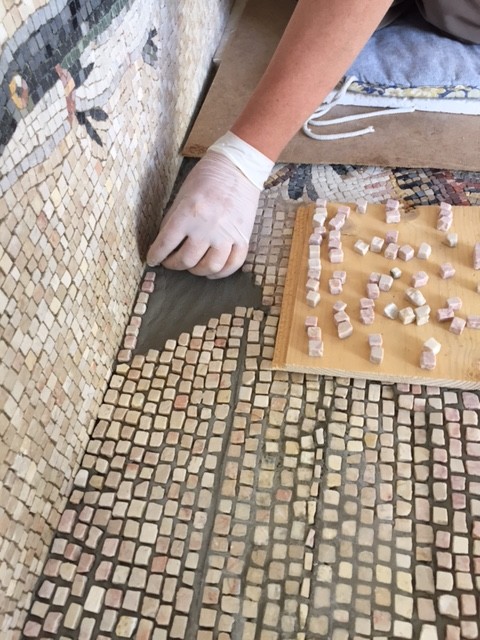
pressed the cement into the gap and layd tesserae loosely onto it, then pressing it down to the level of the figure with a straight board
After working frantically patch by patch I was really questioning what we were doing. Putting the right amount of cement onto the floor so that the grout lines would still be a bit open but the cement would not squeeze to the surface was impossible to predict. I really questioned my ablilitys and regretted not having taken more lessons in working with this direct method on the ground or inviting a master over to help me putting this mosaic on the floor.
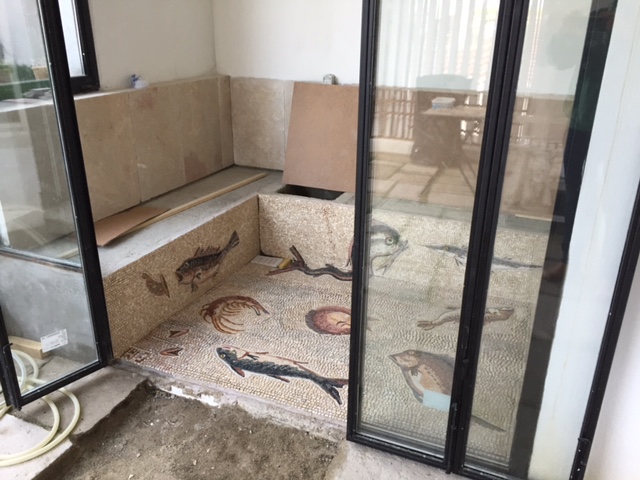
Only when I took this photo on day 3 I became much more relaxed. It did look good! Its so important to step back and look at a mosaic from far! Doing this on a floor mosaic is quite tricky. You have to climb up above it. Here I am standing on the 40cm high bench.
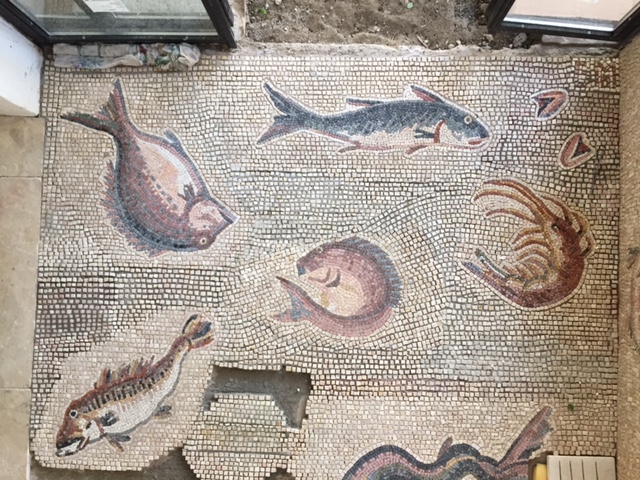
Almost done with the background!
On Wednesday evening I put the last stone down. Thursday morning the tiler would come and put the grout down. Thursday night I would fl back to Brasilia. Just made it!
