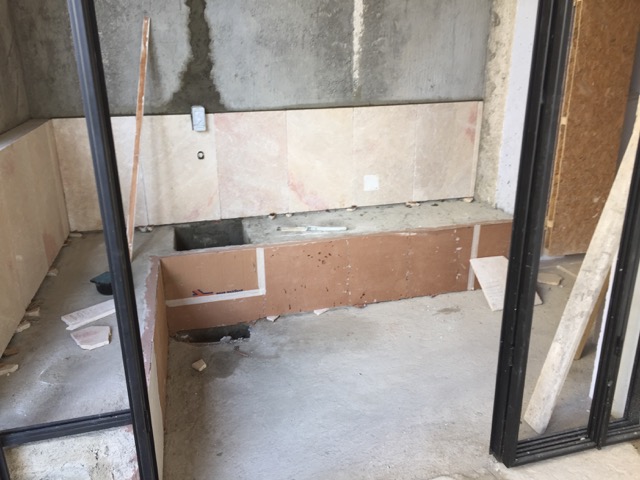
I did it – the wall parts of the mosaic were installed on Thursday. I find help in a very experienced tiling master. Please see it step by step:
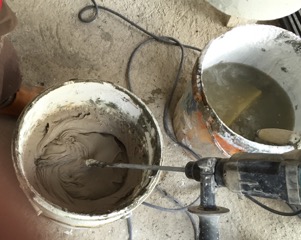
for the tiles cement we mixed 2 parts of white and 1 part of grey BASF Mastertile 15 tile cement with about 1 cup of terra-cotta pigments dissolved in water,
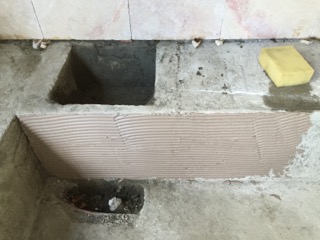
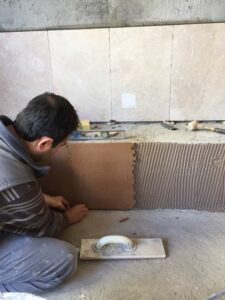
applying cement to the wall of the hamam bench
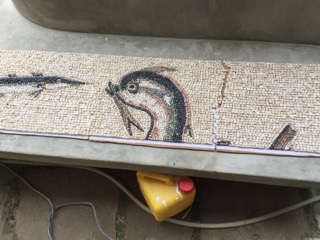
the mosaic tiles laid our near the place that they gonna be installed
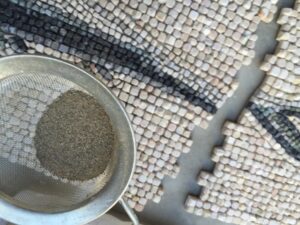
sieving a little bit of dry sand with a fine sieve over the mosaic in order to close the grout lines a little bit so that the cement can not fill them completely.
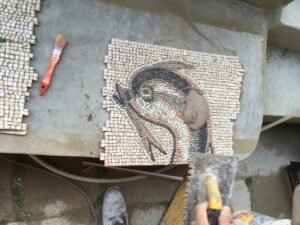
applying tile cement to the part with the dolphins head
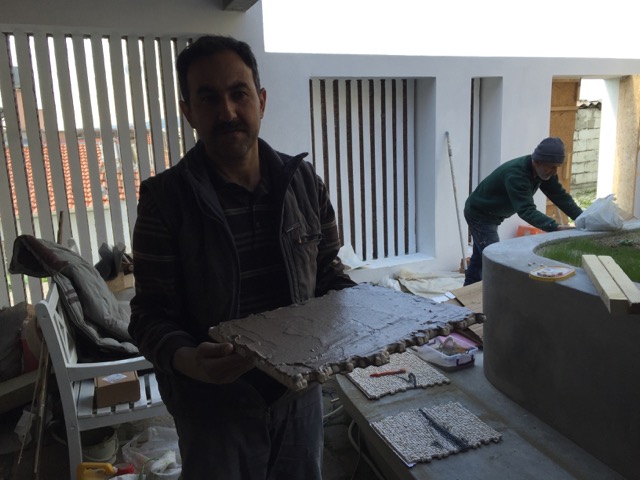
Yusuf is a great tiler with a lot of patience. Without ever having worked with this technique he did an excellent job in putting all the tiles exactly fitting into each other in place. And he was not disturbed by my nervousness…
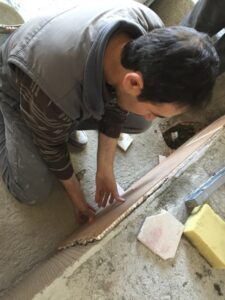
putting the tiles exactly next to one another and in the right hight
Yusuf exercised great care to join the tiles on their puzzle like edges
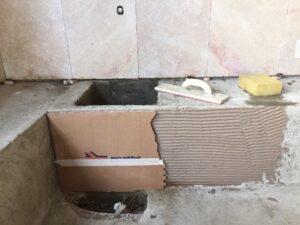
The first tile sticks
Ready! On Sunday I will wet them and hopefully take the boards away on Monday.
